How To Clean Keurig Coffee Maker & Make It Look New!
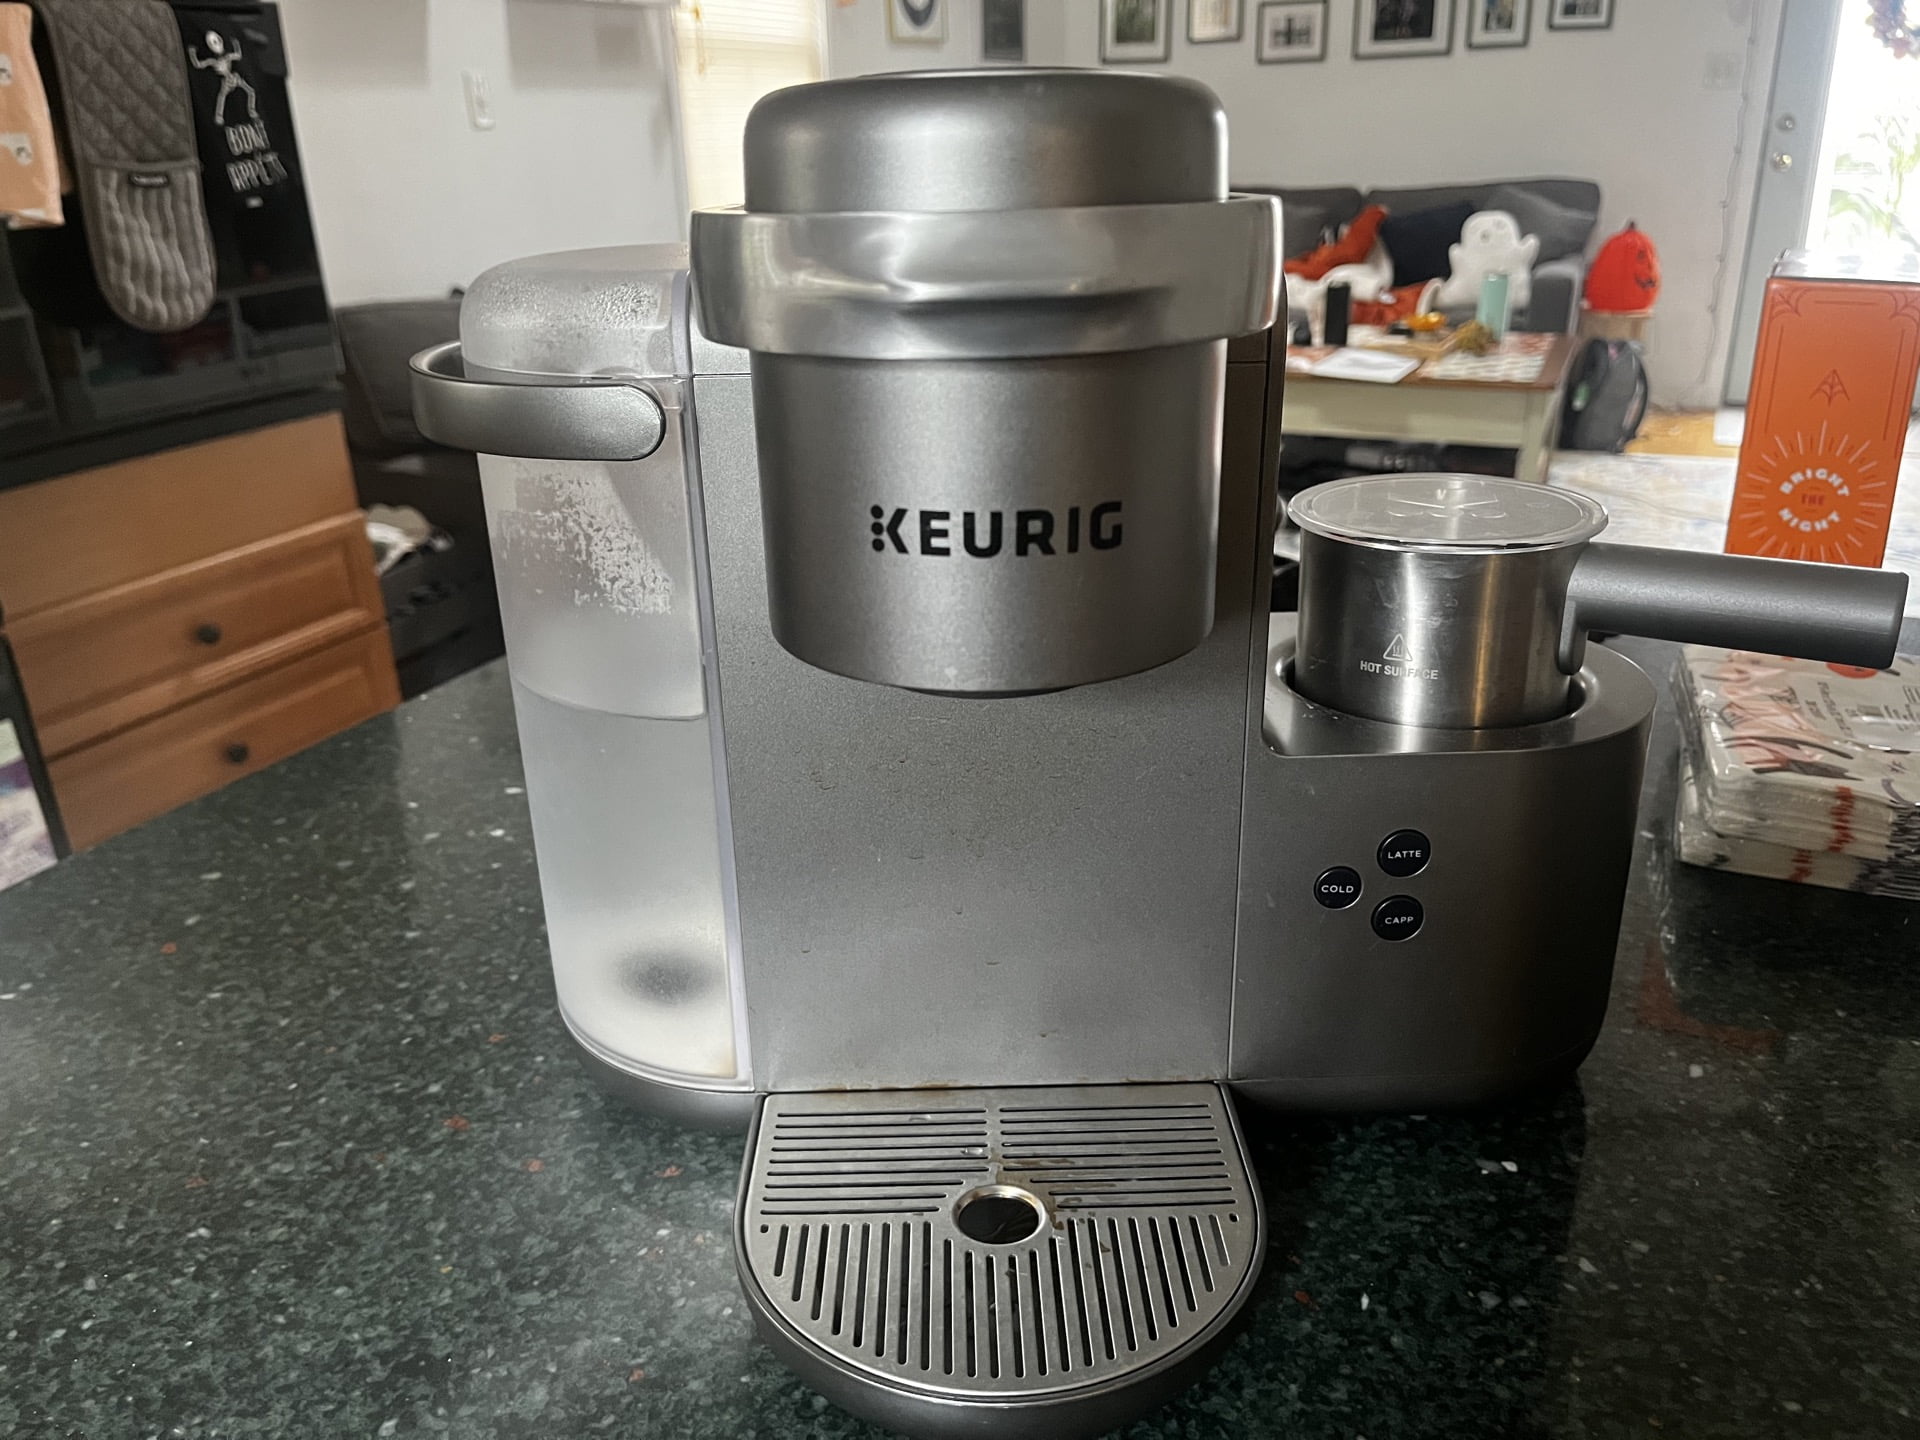
Maintaining a clean Keurig coffee maker is crucial for several reasons. First and foremost, it ensures that your coffee tastes fresh and free of any strange or unwanted flavors. When your Keurig is dirty, it can harbor bacteria and build-up from previous cups of coffee, which can lead to a less enjoyable and potentially unhealthy cup of joe. Is your Keurig coffee maker looking kinda gross? Ours is too, and it’s time to clean it up! In this article we’ll discuss how to clean Keurig coffee maker & make it look like it was on day one! Ready? Let’s jump in!!!
How To Clean Keurig Coffee Maker
Click here for the best descale solution
Keurig coffee makers get a lot of use. I used to work in an office that had one, and boy did it get disgusting! You’d think a single cup brewer wouldn’t be so bad, but add a staff of nine, and that thing ran many many many times a day!
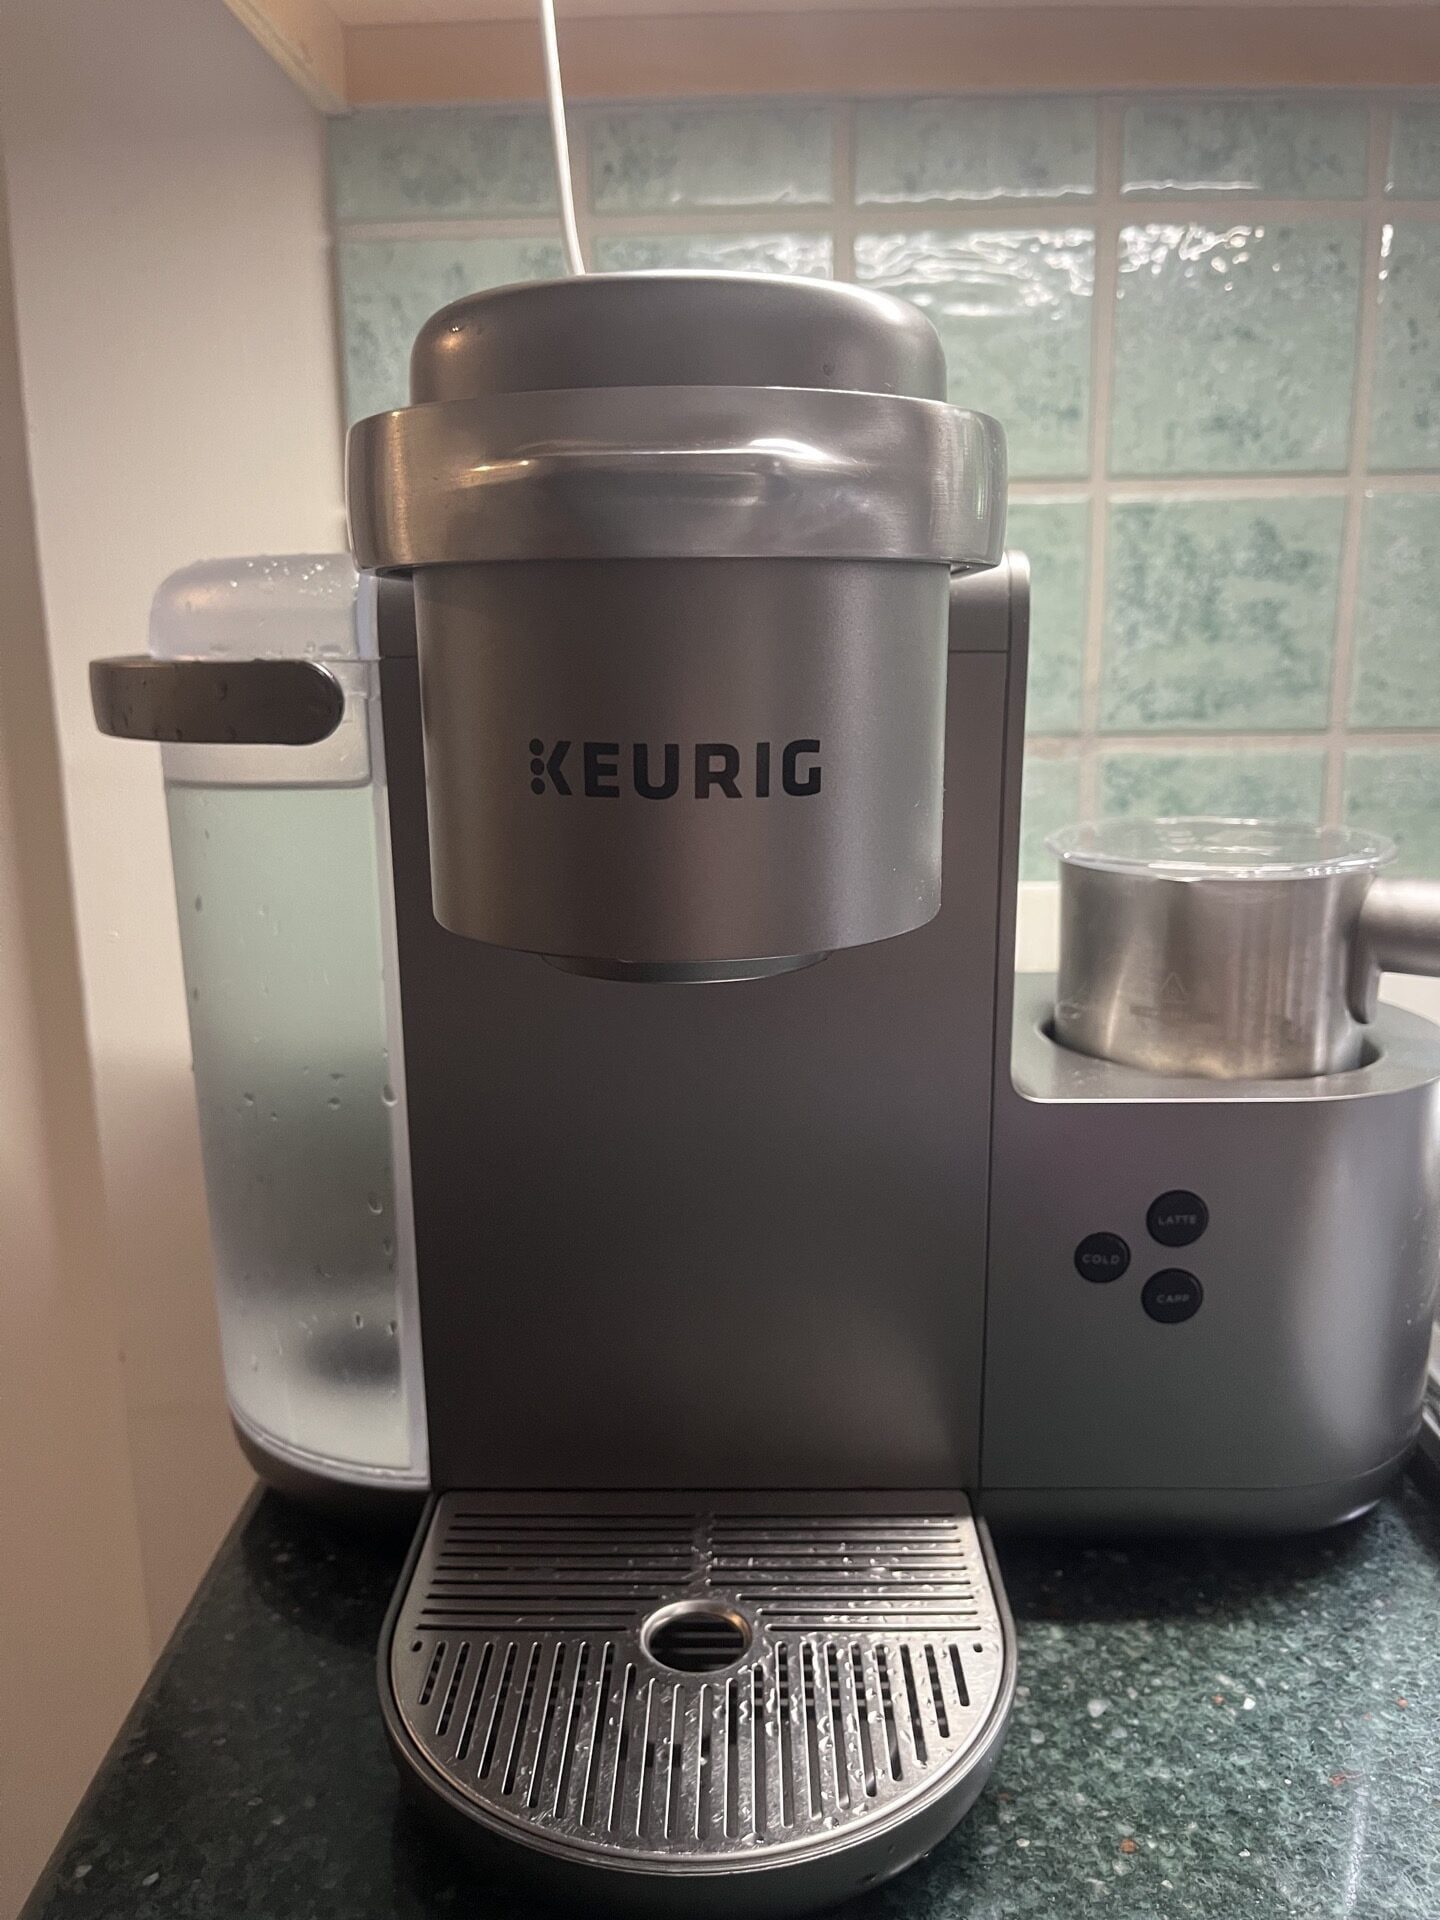
My machine today is one of the newer K Cafe model, but if you don’t have this one it doesn’t really matter my methods will work for any machine.
Stuff you need:
- Microfiber cloth
- Spray cleaner
- Q-tips
- Bottle brush
- Keurig descale kit
- Keurig Water Filters
- Patience
Let’s Get Cleaning!
Step 1: So, how do you go about cleaning your Keurig? The first step is to empty the reservoir and discard any remaining coffee grounds. Next, fill the reservoir with a mixture of equal parts water and white vinegar and run it through the machine as if you were making a cup of coffee. The vinegar helps to break down and remove any build-up or stains inside the machine. Once the cleaning cycle is complete, run a few more cycles with just water to remove any remaining vinegar.
Step 2: It is also a good idea to regularly clean the exterior of your Keurig. Wipe down the outside with a soft, damp cloth and mild soap to remove any dirt or fingerprints. Don’t forget to also clean the K-Cup pod holder and the area where the coffee exits the machine. These areas can accumulate grounds and other debris, which can affect the taste of your coffee and the overall performance of the machine.
Remove the drip tray and wash in the sink. Clean the pad underneath with a little spray cleaner and the microfiber cloth

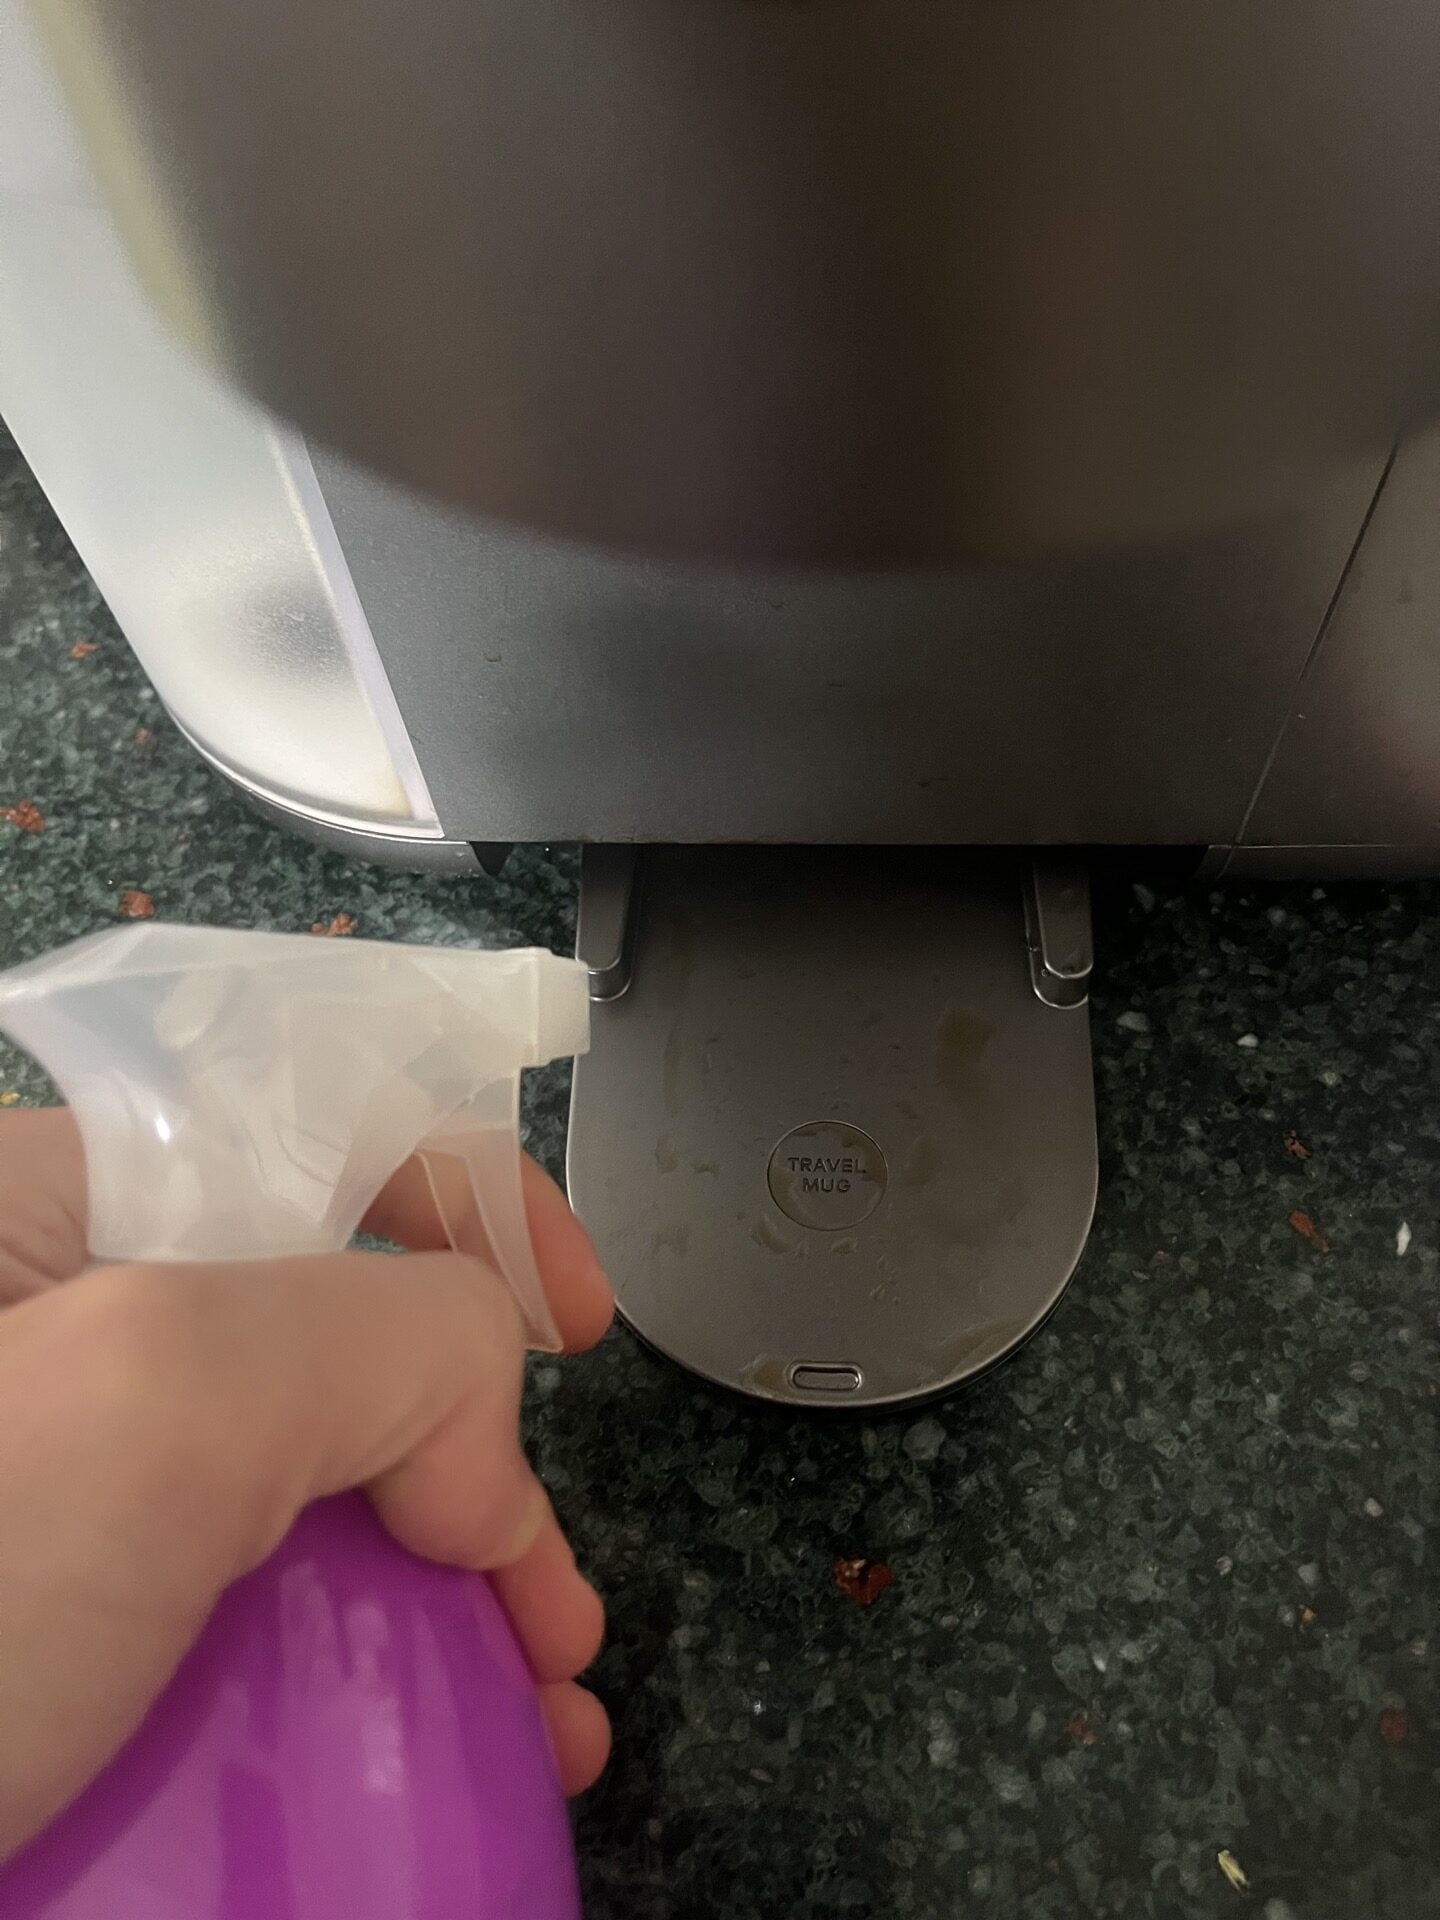

Step 3: Lightly spray the outside of the Keurig, use the cloth to wipe down the machine. Be sure to focus on the backsplash where the coffee drips from!
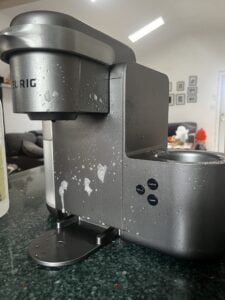
Step 4: Remove the inner holder CAREFULLY! It might have three or four tabs that can be squeezed to release it. You need to be extra careful as the needle that punctures the Keurig coffee pods is inside here. Clean the cup in the sink with a little dish soap and warm water.
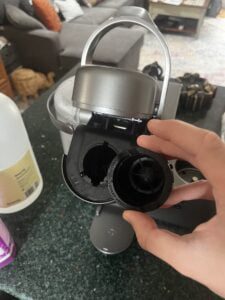
Step 5: Look inside the where the inner holder was with a flashlight. Determine if it needs cleaning. Mine was horrific, so I grabbed some Q-tips, soaked them in water, and got the old coffee wet. After a few minutes it softened up, and I was able to remove the gunk.
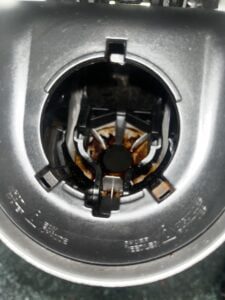
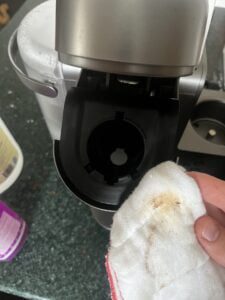
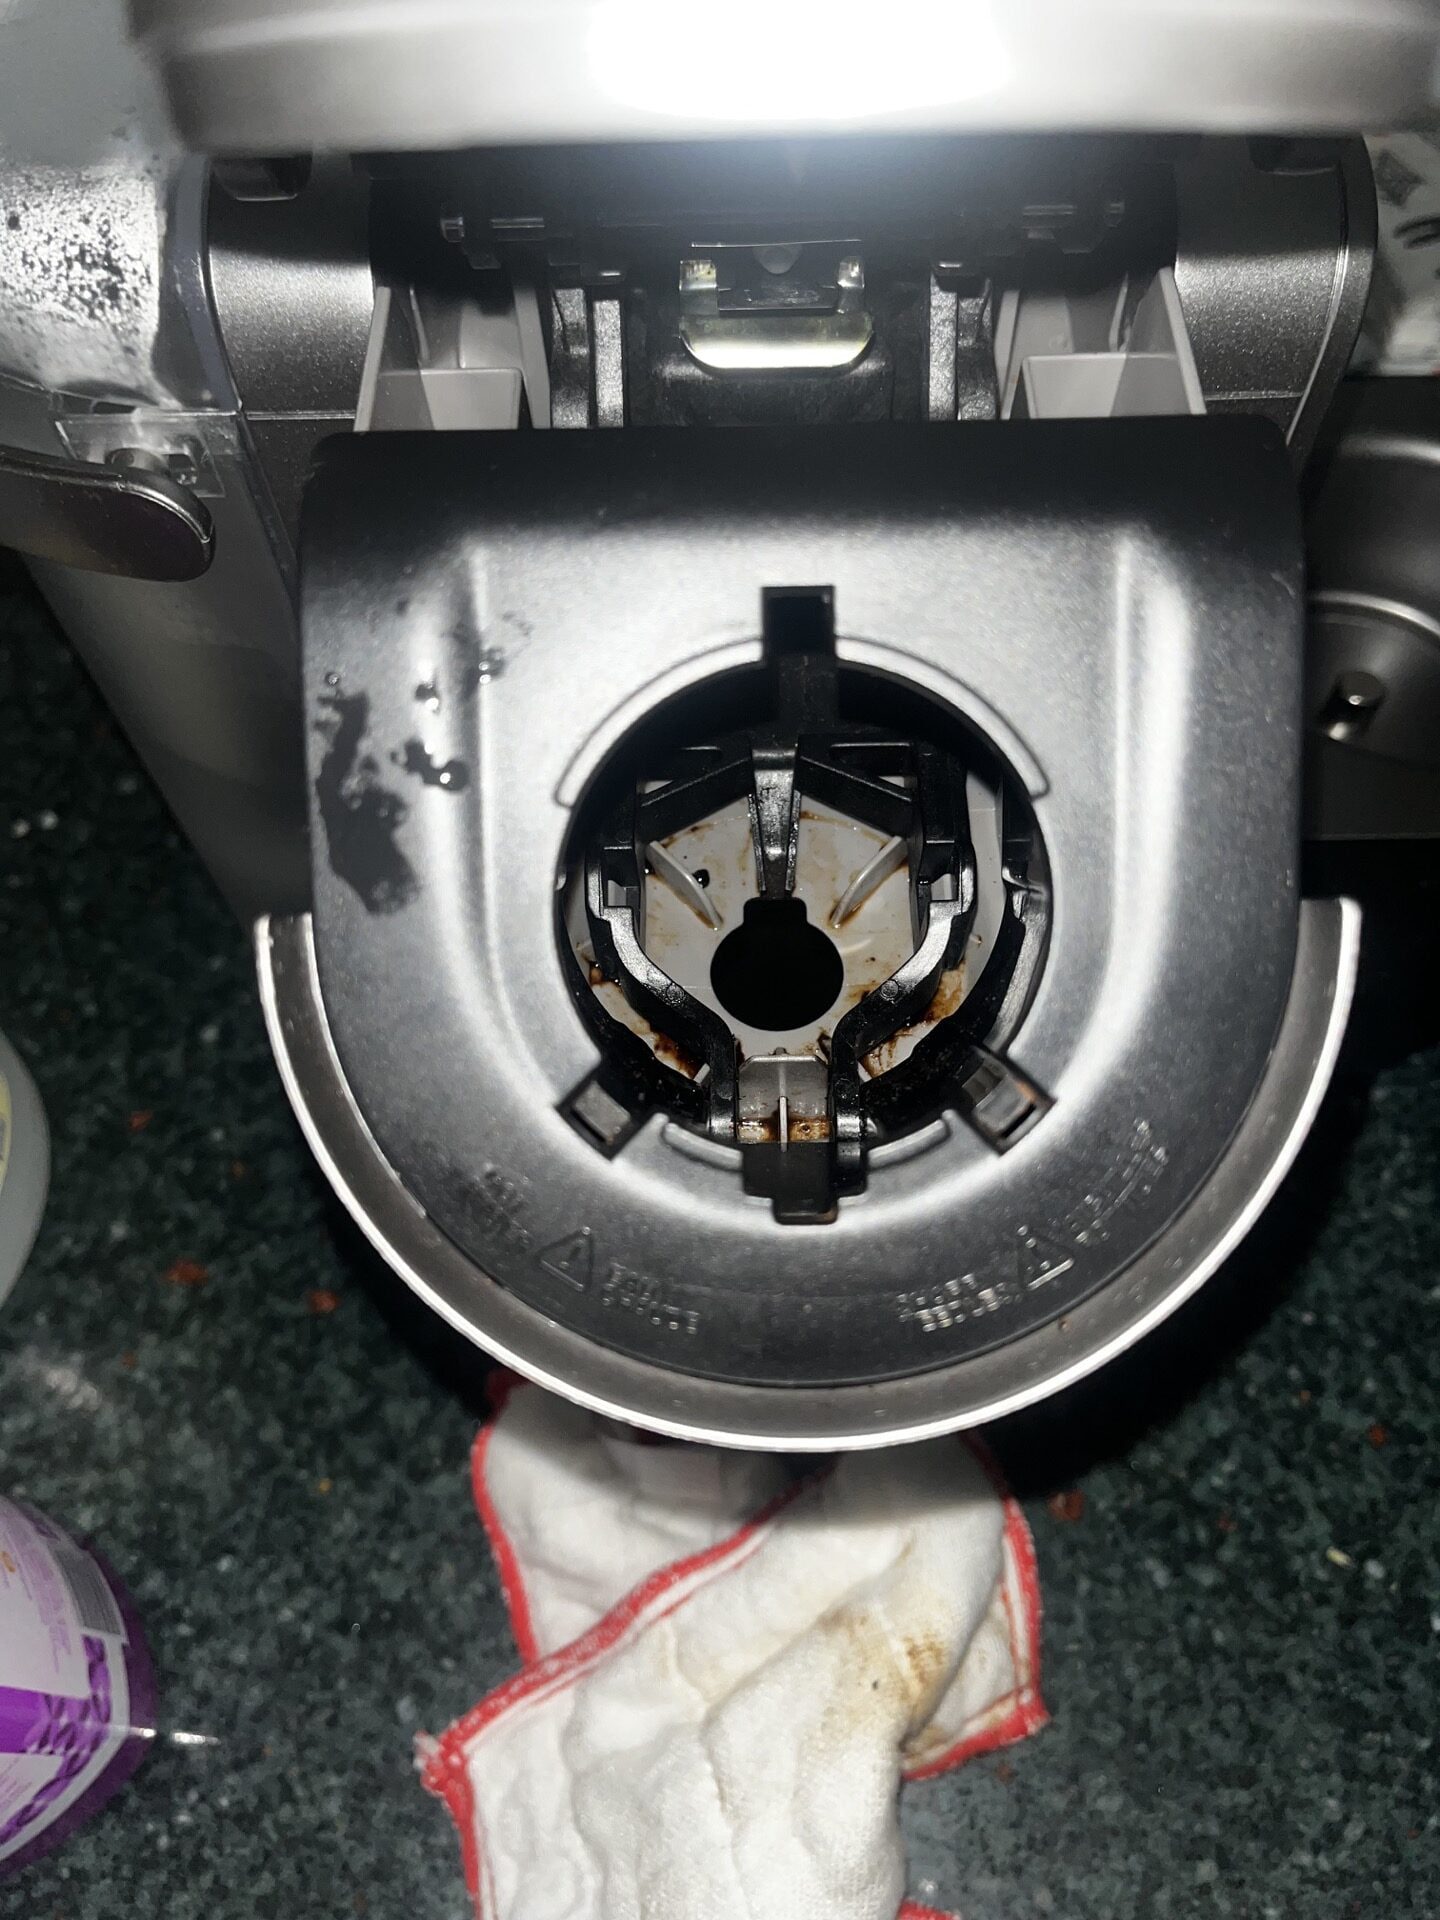
I need more Q tips!
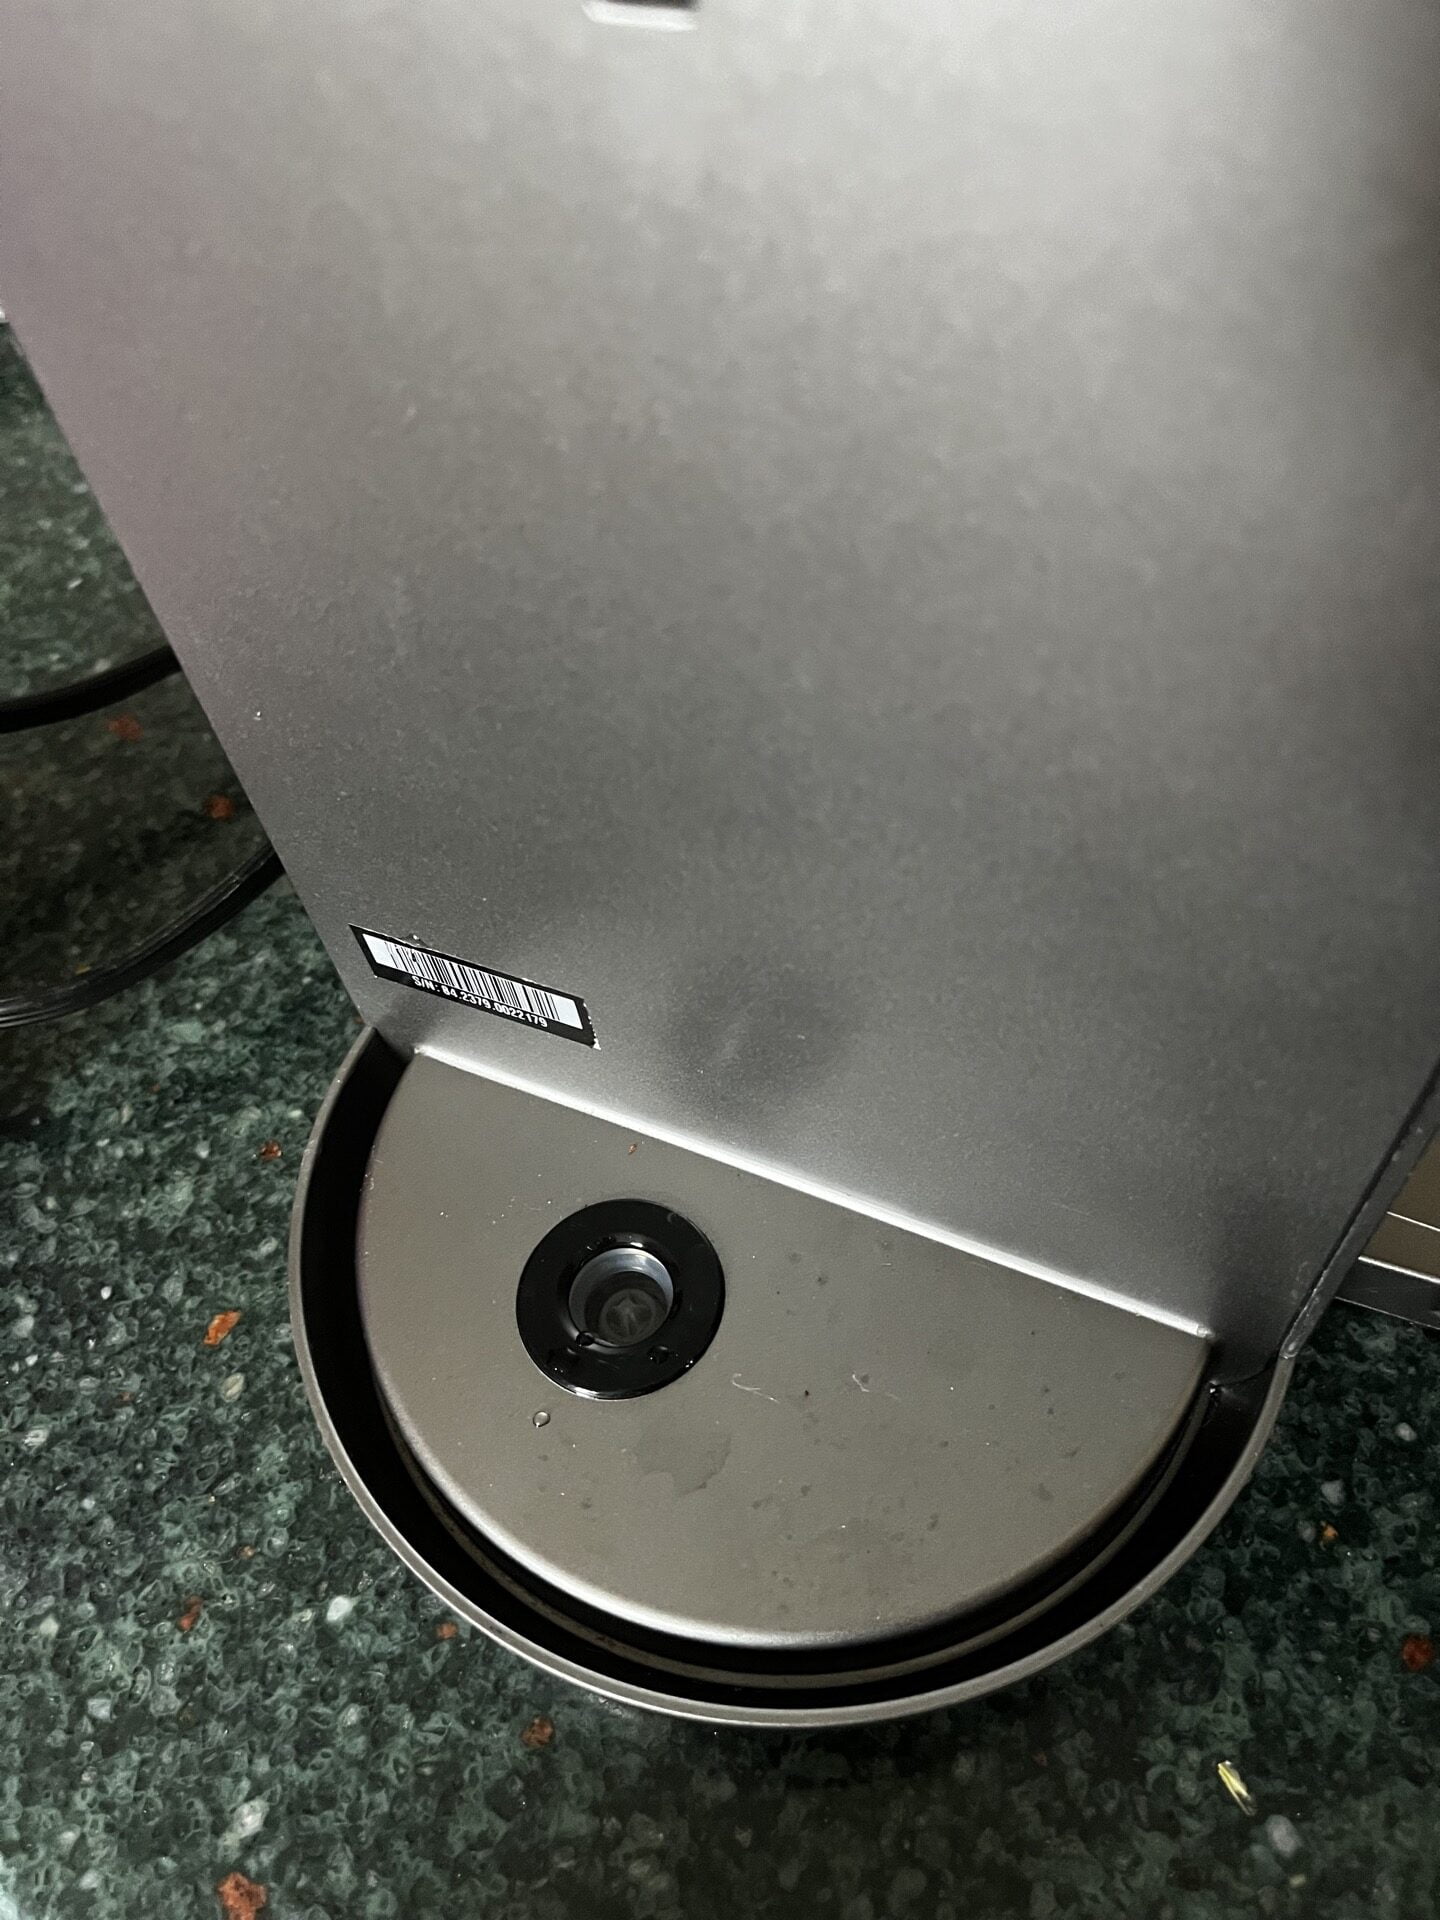
Step 6: Using the microfiber cloth and plain water, or water with a little dish soap, clean the underside of where the water drips out. I don’t use regular cleaner here, or anywhere where it might touch the water I’ll be drinking.
Step 7: Remove the water container, and using the moist microfiber cloth, wipe everything down.
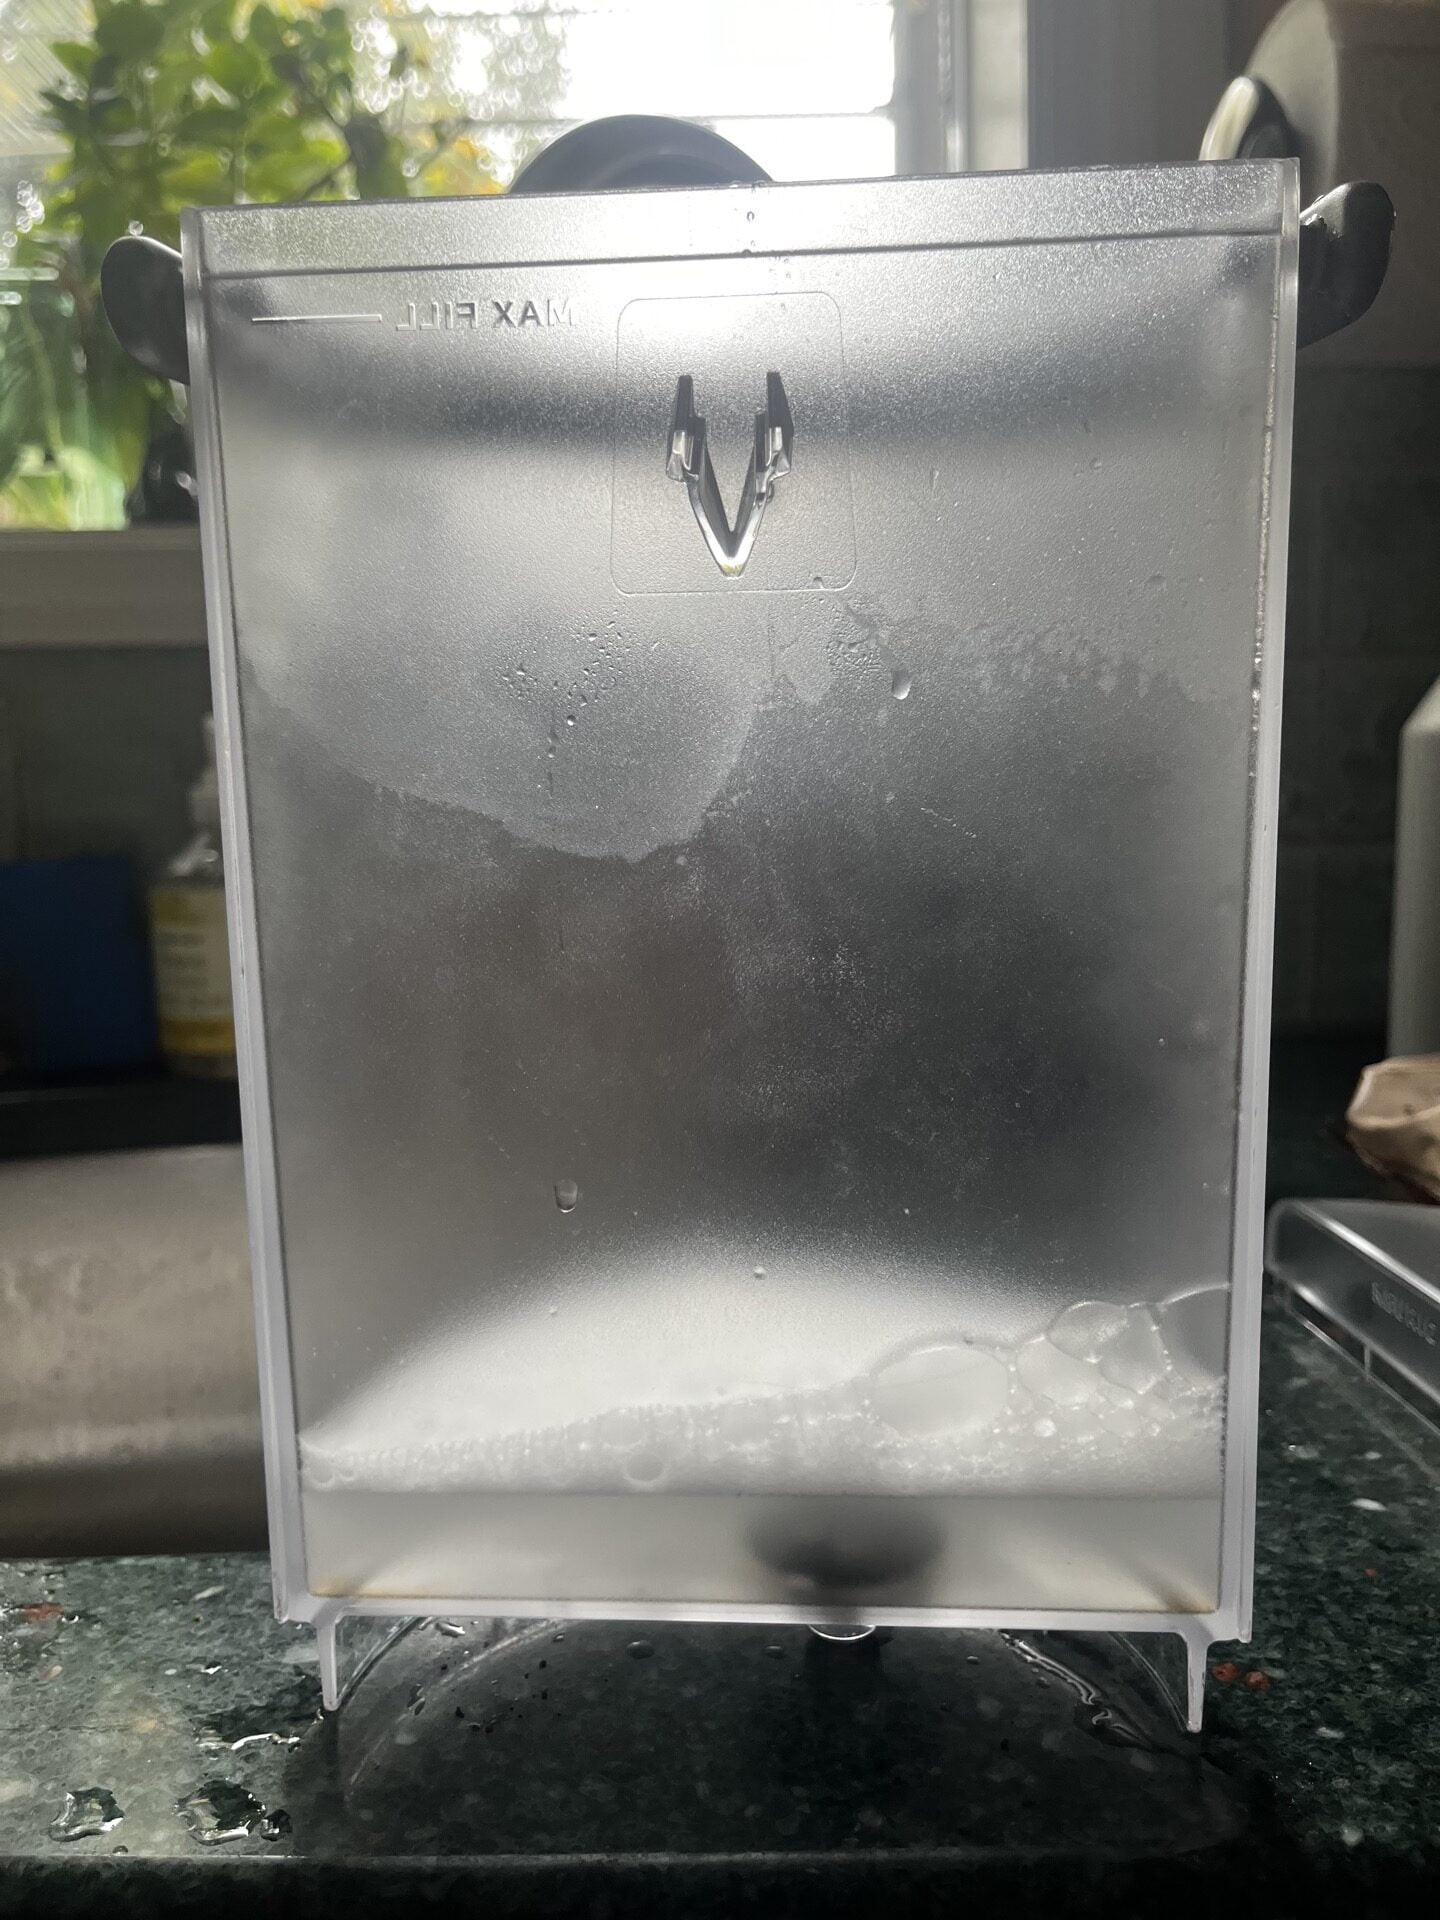
Step 8: Add a tiny bit of dish soap to the water container, and use abottle brushto scrub the inside. Be sure to clean near and around the spring loaded mechanism that allows water to flow into the machine.
Keurig Water Filter
Using Keurig water filter is a good idea for several reasons. First and foremost, filters help to remove impurities and contaminants from your water, which can improve the taste of your coffee. Water that is high in minerals, such as calcium and magnesium, can leave a residue in your coffee maker and affect the taste of your coffee. Filters help to reduce the amount of these minerals and other impurities in the water, resulting in a better-tasting cup of coffee.
Another benefit of using Keurig water filters is that they can help to extend the lifespan of your coffee maker. When water contains a high level of minerals and impurities, it can build up inside the machine and cause it to malfunction or become less efficient over time. By using filters, you can help prevent this build-up and keep your coffee maker running smoothly.
In addition to the above benefits, Keurig water filters are also convenient and easy to use. They are designed specifically for Keurig coffee makers and are simple to install. Most filters can be easily replaced every two months or so, depending on the amount of coffee you drink and the quality of your water.
In summary, using Keurig water filters is a good idea because it helps to improve the taste of your coffee, extend the lifespan of your coffee maker, and is convenient to use. These filters are an essential part of keeping your coffee maker in top condition and producing the best-tasting coffee possible.
(OPTIONAL) Step 10: Descale your Keurig. Please read our guide to descaling your Keurig!
The Bottom Line
How to clean Keurig coffee maker? Take it piece by piece and clean, scrub, and rinse it back to life. In the end, your machine should be looking as fresh as the first day out of the box like ours! Keeping your Keurig clean is essential for producing tasty coffee, maintaining the longevity of your coffee maker, and ensuring that it functions properly. Taking a few minutes to regularly clean your Keurig can make a big difference in your coffee-drinking experience.
