How To Descale a Keurig K Cafe
Click For Descale Solution
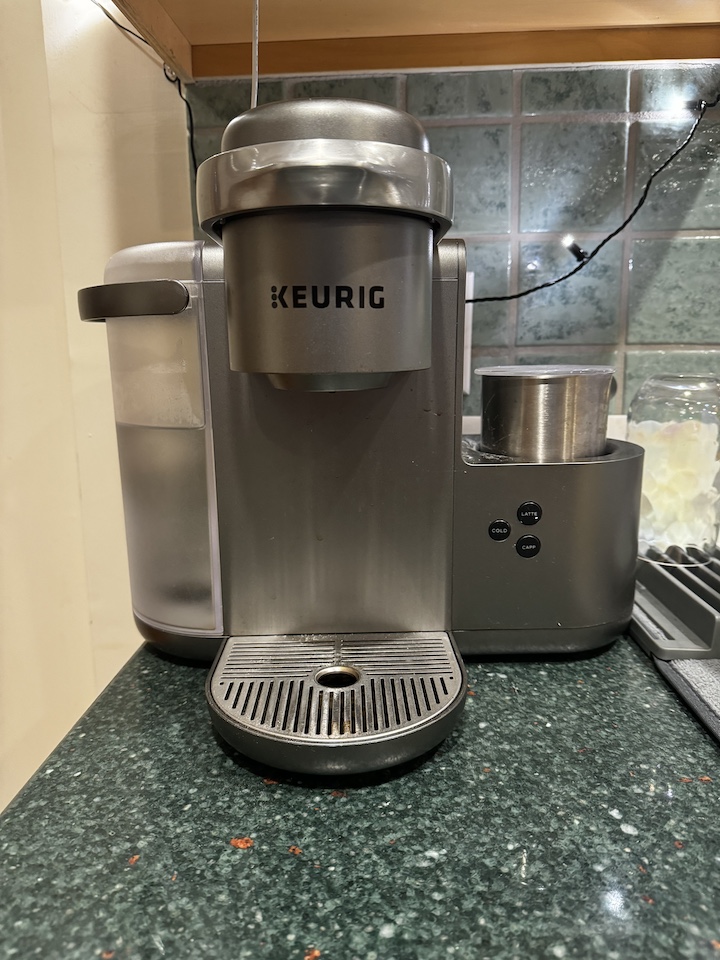
If your Keurig has started brewing slower, making strange noises, or makes coffee that tastes off, you’re likely dealing with mineral build-up inside the machine. Having opened my Keurig already to fix it, I can tell you first hand that it is a well-built machine with delicate parts that need to be clean to operate! The solution? Descaling — a simple yet often overlooked maintenance step that keeps your drinks tasting great and your machine running like new.
In this guide, you’ll learn what descaling is, how often to do it, the different methods available, and step-by-step instructions to clean your K Cafe Keurig like a pro.
What Is Descaling & Why It Matters
Descaling is the process of removing limescale and calcium deposits that build up inside your coffee maker over time. This naturally occurs when water is heated, especially in areas with hard water.
If left unchecked, limescale can:
- Alter the taste of your coffee
- Slow down brew times
- Cause clogs and machine malfunctions
- Shorten the lifespan of your Keurig
Signs Your Keurig Needs Descaling
You might need to descale your Keurig if you notice:
- Bitter or metallic coffee taste
- Slower brewing speed than normal
- Unusual noises during the brewing process
- The “Descale” light/message appears on your machine
How Often Should You Descale?
Keurig recommends descaling every 3–6 months, but you may need to do it more often if:
- You drink multiple cups a day
- You use unfiltered tap water
- You live in a hard water area
Which Descaling Method Is Best?
There are three main options for descaling your Keurig:
- Keurig Descaling Solution
- Pros: No odor, precise formulation, safe for all models
- Cons: Costs more than homemade options
- White Vinegar & Water (1:1 ratio)
- Pros: Inexpensive, effective
- Cons: Strong smell, may require extra rinsing
- Lemon Juice & Water (1:1 ratio)
- Pros: Natural, pleasant scent
- Cons: Slightly less effective on heavy build-up

Step-by-Step: How to Descale Your Keurig
Step 1 – Prepare Your Machine
- Unplug your Keurig
- Remove any K-cups or coffee pods
- Empty the drip tray
- Remove the water filter (if applicable)
Step 2 – Mix Your Solution
- Fill the water reservoir with descaling solution
Step 3 – Run Cleaning Cycles
- Place a large mug on the drip tray
- Without a K-cup, run a brew cycle
- Repeat until the “Add Water” light comes on
Step 4 – Let It Sit
- Leave the machine on for 30–60 minutes to break down mineral deposits
Step 5 – Rinse Thoroughly
- Empty the reservoir
- Fill with fresh water
- Run multiple brew cycles until there’s no trace of solution or smell
Step 6 – Reassemble
- Replace the water filter and any removed parts
- Resume brewing as normal
Troubleshooting After Descaling
- Descale light won’t turn off: Run another rinse cycle or consult your model’s reset instructions
- Vinegar taste remains: Continue brewing cycles with clean water until it’s gone
- Water isn’t flowing: Check the needle for clogs and clean it with a paperclip
How to Prevent Limescale Build-Up
- Use filtered or bottled water
- Empty the water reservoir at night
- Wipe down removable parts weekly
- Store with the lid open to prevent trapped moisture
Quick Descaling Frequency Chart
Coffee Per DayWater TypeDescale Every
1–2 cups Filtered/Bottled 6 months
3–4 cups Tap 3 months
Heavy use Hard Tap 1–2 months

FAQs
Can I use baking soda to descale my Keurig?
No, baking soda can damage internal components and is not effective for dissolving limescale.
Can I run straight vinegar?
It’s better to dilute it 1:1 with water to avoid overwhelming odors and possible damage to internal seals.
Is descaling the same as cleaning?
No — cleaning focuses on removing coffee residue from external and removable parts, while descaling targets mineral build-up inside the machine.
Do commercial Keurigs need different care?
They require more frequent descaling due to higher usage.
Final Thoughts
Descaling your Keurig is quick, inexpensive, and critical for ensuring great-tasting coffee and a long-lasting machine. By adding it to your regular maintenance routine, you’ll enjoy faster brewing, better flavor, and fewer breakdowns.
Enjoy your next cup knowing your Keurig is as clean and efficient as the day you bought it.