matt
Keurig Descale Light Won’t Turn Off
Over time, minerals from water can accumulate inside your Keurig, impacting its performance and even the taste of your coffee. Depending on the hardness of the water in your area, regular descaling may be necessary to keep your machine functioning properly. The descale light serves as your Keurig’s reminder that it’s time for a cleaning. Typically, the light turns on when descaling is required and automatically shuts off once the process is complete. If it remains on, it indicates something is not quite right.
Why Your Keurig Descale Light Stays On
Mineral buildup can eventually clog your Keurig, triggering the descale light. But if the light doesn’t turn off after descaling, these are the most common culprits:
- 🛑 Incomplete Descaling Cycle
- Did you use Keurig’s official descaling solution? Generic vinegar may leave residue.
- Older models require manual resetting after descaling.
- 🔧 Sensor Malfunction
- Hard water deposits or residual solution can trick the sensor.
- Power-cycling the machine often resets glitchy sensors.
- ⚠️ Internal Blockages
- Limescale chunks might linger in the pump or thermostat.

How to Fix a Stuck Descale Light in 5 Minutes
Step 1: Force a Hard Reset
- Unplug your Keurig for 60 seconds.
- Press and hold the 8oz + 10oz buttons for 5 seconds while plugging it back in (works for K-Elite/K-Supreme).
Step 2: Re-Run the Descaling Cycle
- Use Keurig Descaling Solution (not vinegar) to avoid sensor errors.
- Flush with 12+ cycles of fresh water to clear residue.
Step 3: Check for Hidden Blockages
- Remove the water reservoir and inspect the needle for debris.
- Soak removable parts in warm, soapy water (see Keurig’s cleaning guide).
Still On? Try This:
- For models made after 2020, update firmware via the Keurig app.
- Contact support for a free sensor replacement if under warranty.
FAQ: Keurig Descale Light Troubleshooting
Q: Can I use vinegar instead of descaling solution?
A: Not recommended—vinegar damages rubber seals over time.
Q: Why does my descale light come back in 2 weeks?
A: Your water hardness is likely high. Test water with a $5 TDS meter and install a filter.
Q: Does unplugging Keurig reset the descale light?
A: Only on newer models. For older ones, follow our manual reset steps above.
Conclusion
A stuck descale light can be frustrating, but it’s generally a minor hiccup in your Keurig’s operation. By following these troubleshooting steps, you’ll likely turn that light off and get back to enjoying your favorite brews in no time. Remember, if you face any ongoing issues, Keurig’s customer support team is just a phone call away. Happy brewing!
How to Descale a Keurig K-Mini and K-Mini Plus

- Initiate Descaling Mode: Hold the 6 oz and 10 oz buttons simultaneously for 3 seconds.
- Preparation: Turn off the machine and unplug it. Remove and clean the water reservoir, drip tray, and pod holder with warm soapy water.
- Fill With Descaling Solution: Fill the reservoir with Keurig Descaling Solution up to the maximum fill line.
- Start the Cycle: Turn on the machine and place a large mug on the drip tray. Cycle without a coffee pod. Dispose of the liquid.
- Additional Cycles: Continue this process until the “Add Water” light lights up. Let the machine sit for 30 minutes.
- Rinse and Repeat: Empty and rinse the reservoir. Fill it with fresh water and run multiple cleansing cycles until the “Add Water” indicator lights up again.
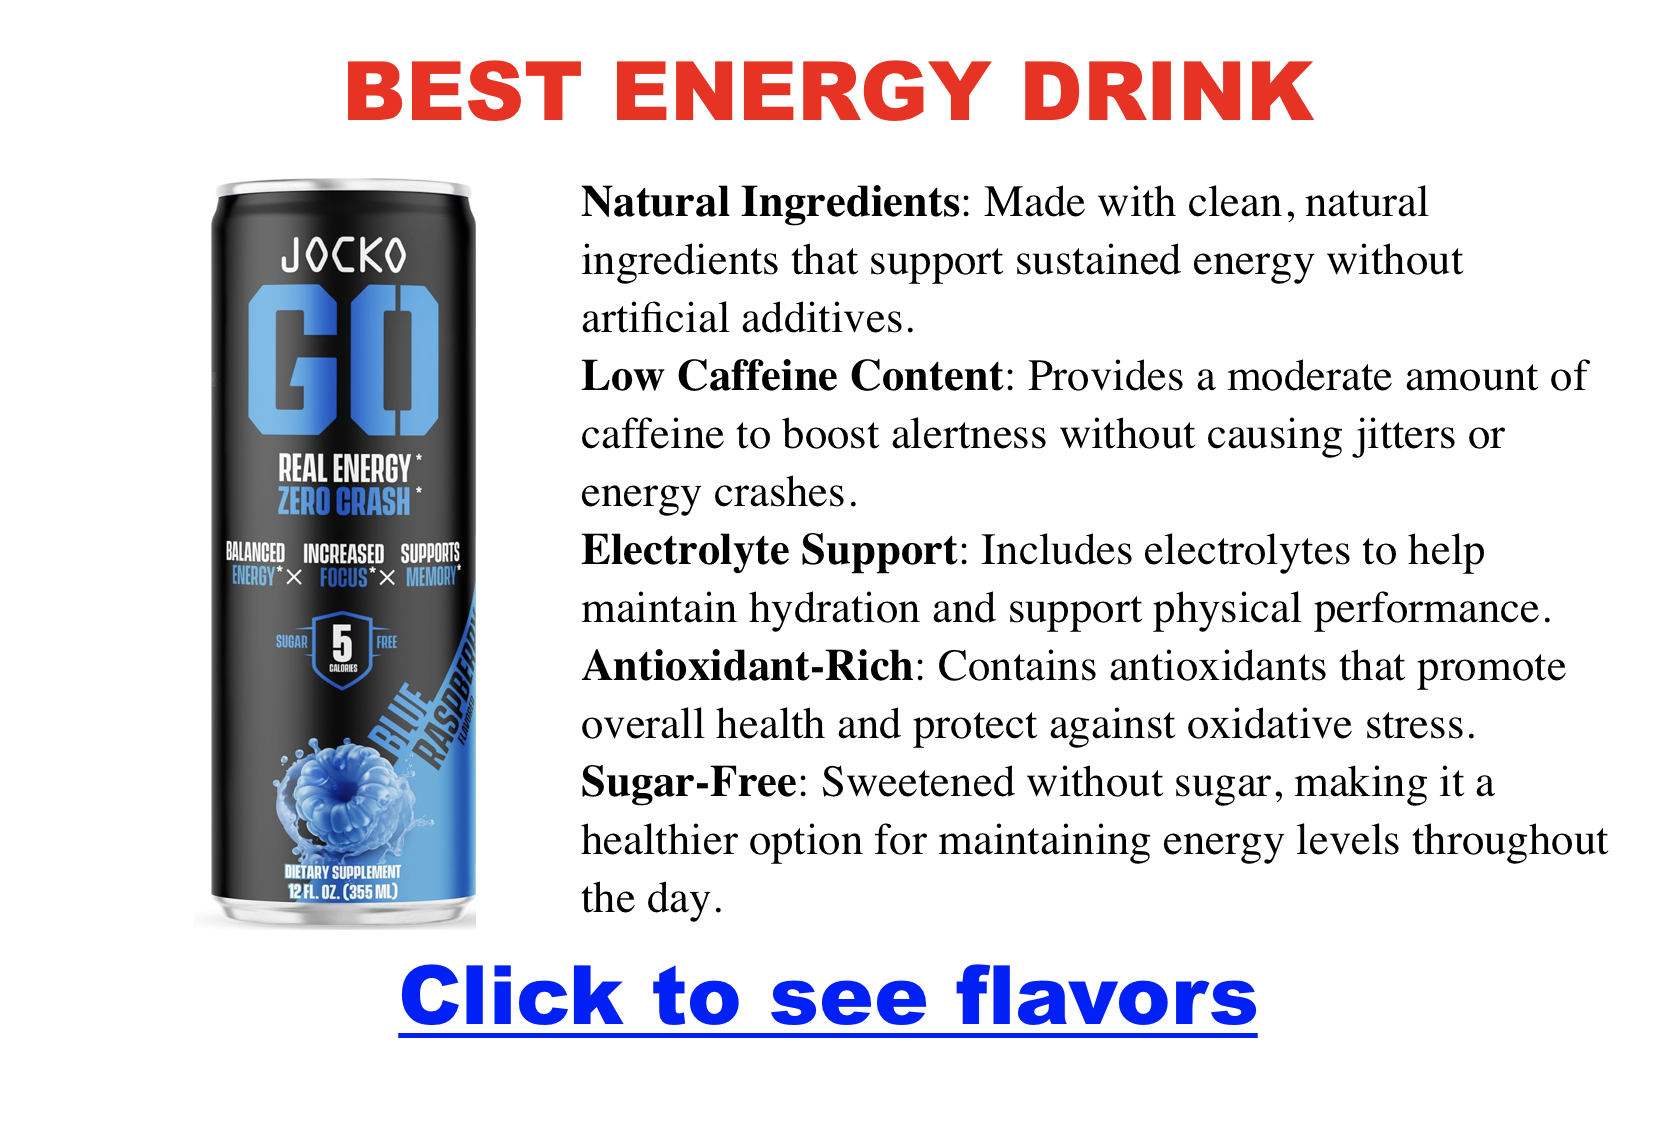
Jocko Go Caffeine Content
While Jocko Go offers a consistent experience across its flavors, the caffeine content varies, catering to different needs and preferences.
Original Flavors: A Moderate Boost
The majority of Jocko Go flavors, including popular options like Tropical Mango, Lemon Lime, Orange Mango, Sour Apple, and Blue Raspberry, pack a punch of 95mg of caffeine per can. This moderate dose is ideal for those seeking a noticeable energy lift without venturing into jitters or excessive stimulation.
Jocko Go Zero: Unleashing the Beast
For those who crave a more potent jolt, Jocko Go Zero, currently available in Afterburner Orange and Dak Savage flavors, delivers a hefty 200mg of caffeine per can. This puts it on par with some of the most potent energy drinks on the market, making it a go-to choice for those pushing their limits or facing demanding tasks.
| Jocko Go Drink | Caffeine Content (mg) |
|---|---|
| Original Flavors (Tropical Mango, Lemon Lime, Orange Mango, Sour Apple, Blue Raspberry, etc.) | 95 |
| Jocko Go Zero (Afterburner Orange, Dak Savage) | 200 |
Choosing the Right Jocko Go: Caffeine Considerations
When selecting a Jocko Go flavor, it’s crucial to consider your caffeine tolerance and individual needs. If you’re new to caffeine or sensitive to its effects, the original flavors with 95mg per can offer a safe starting point. For seasoned caffeine consumers or those needing a substantial boost, Jocko Go Zero’s 200mg dose might be the better choice. Remember, it’s always wise to factor in your daily caffeine intake from other sources like coffee, tea, or chocolate.
How To Make French Press Coffee
Look, coffee is a personal journey. Feel free to play with:
- Grind Size: You might need to adjust the coarseness if your coffee tastes like a rejected demo tape.
- Water Temperature: Aim for hot, but not boiling. You don’t want to scald the rockstar.
- Steeping Time: More time = stronger coffee. But don’t overdo it unless you want to go from Led Zeppelin to Death Metal in a sip.
Alright, here’s the deal on brewing. French Press coffee needs a little extra time to shine – around 4 minutes. And don’t forget to use water just off the boil, around 195-205°F (or 90-96°C). Let that coffee magic happen!
French Press Coffee Ratio
The coffee-to-water ratio for French press coffee is typically around 1:15. For every 1 gram of coffee, you will use 15 grams of water.
To make a cup of French press coffee, you will need about 8 ounces (240 ml) of water and about 2 tablespoons (10 grams) of coarsely ground coffee. You can adjust the amount of coffee and water to taste. Some people prefer a stronger coffee, so they may use more coffee, while others prefer a weaker coffee and use less. If you need a French press, I like Bodum.
How To Use a French Press
I’m using a 34 ounce Bodum French Press which really holds about 32 ounces of water.
1: Begin heating 4 cups of filtered water. Ideal temperature is 195-205 degrees F.
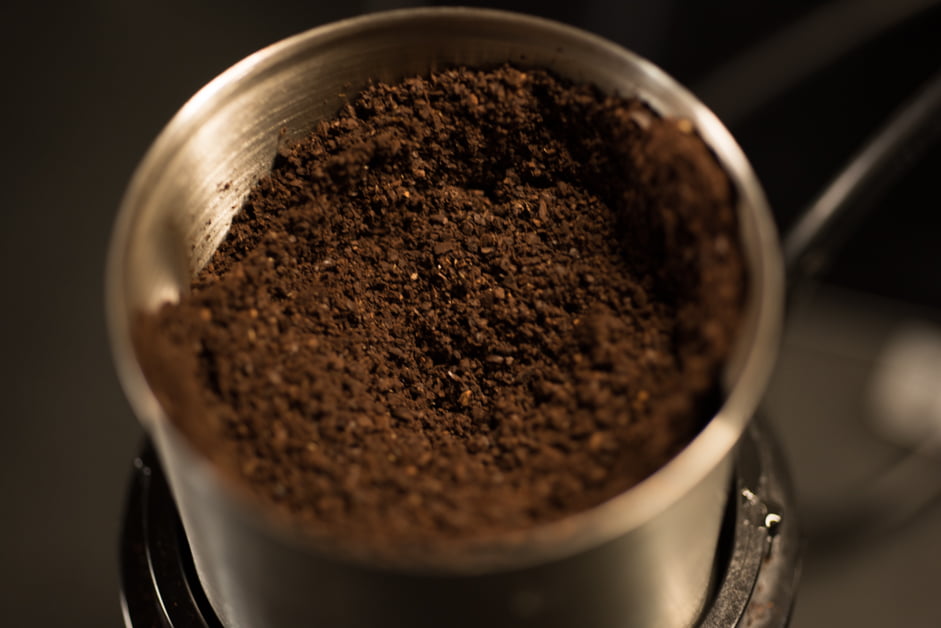
2: Measure or weigh about 64 grams / 12 Tbsp of coffee. Add to the French press.
If you like a slightly weaker coffee, use 10 tbsp. If you like a stronger coffee, try 16 tbsp.
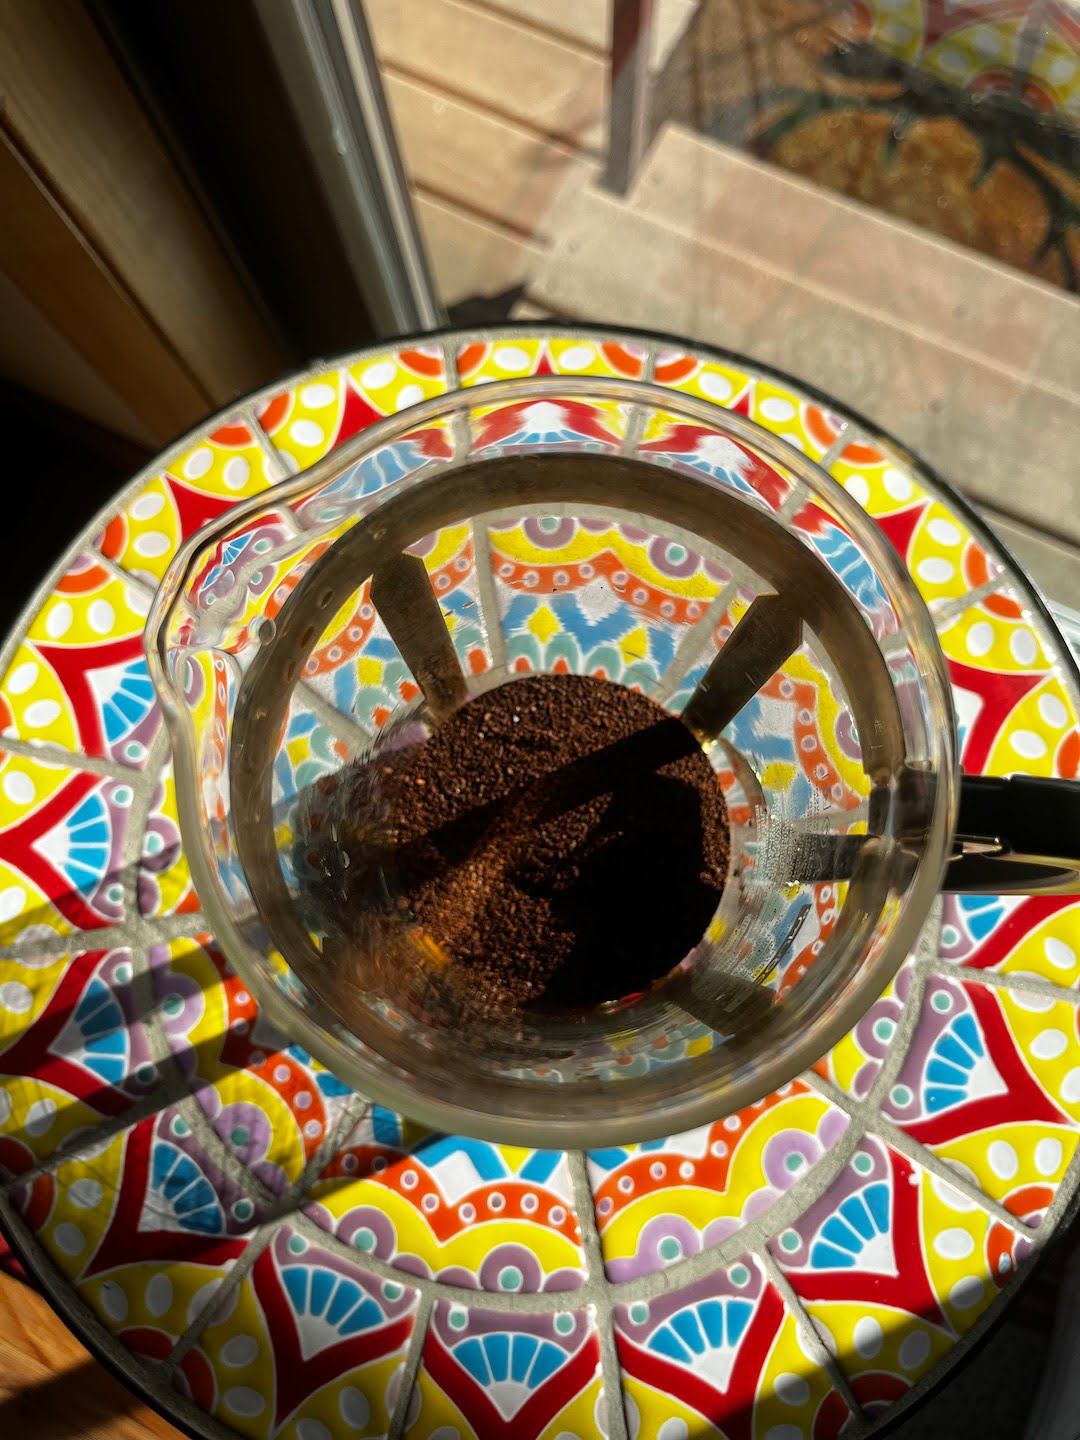
3: When the water boils, remove it from the heat and let it cool for 30 seconds. Add enough water to the French press to bloom the coffee. This will give the water a chance to extract the coffee’s oils for maximum flavor. Set a 30-second timer.
4: Continue to add water and fill the carafe. Cover and set a 4-minute timer.
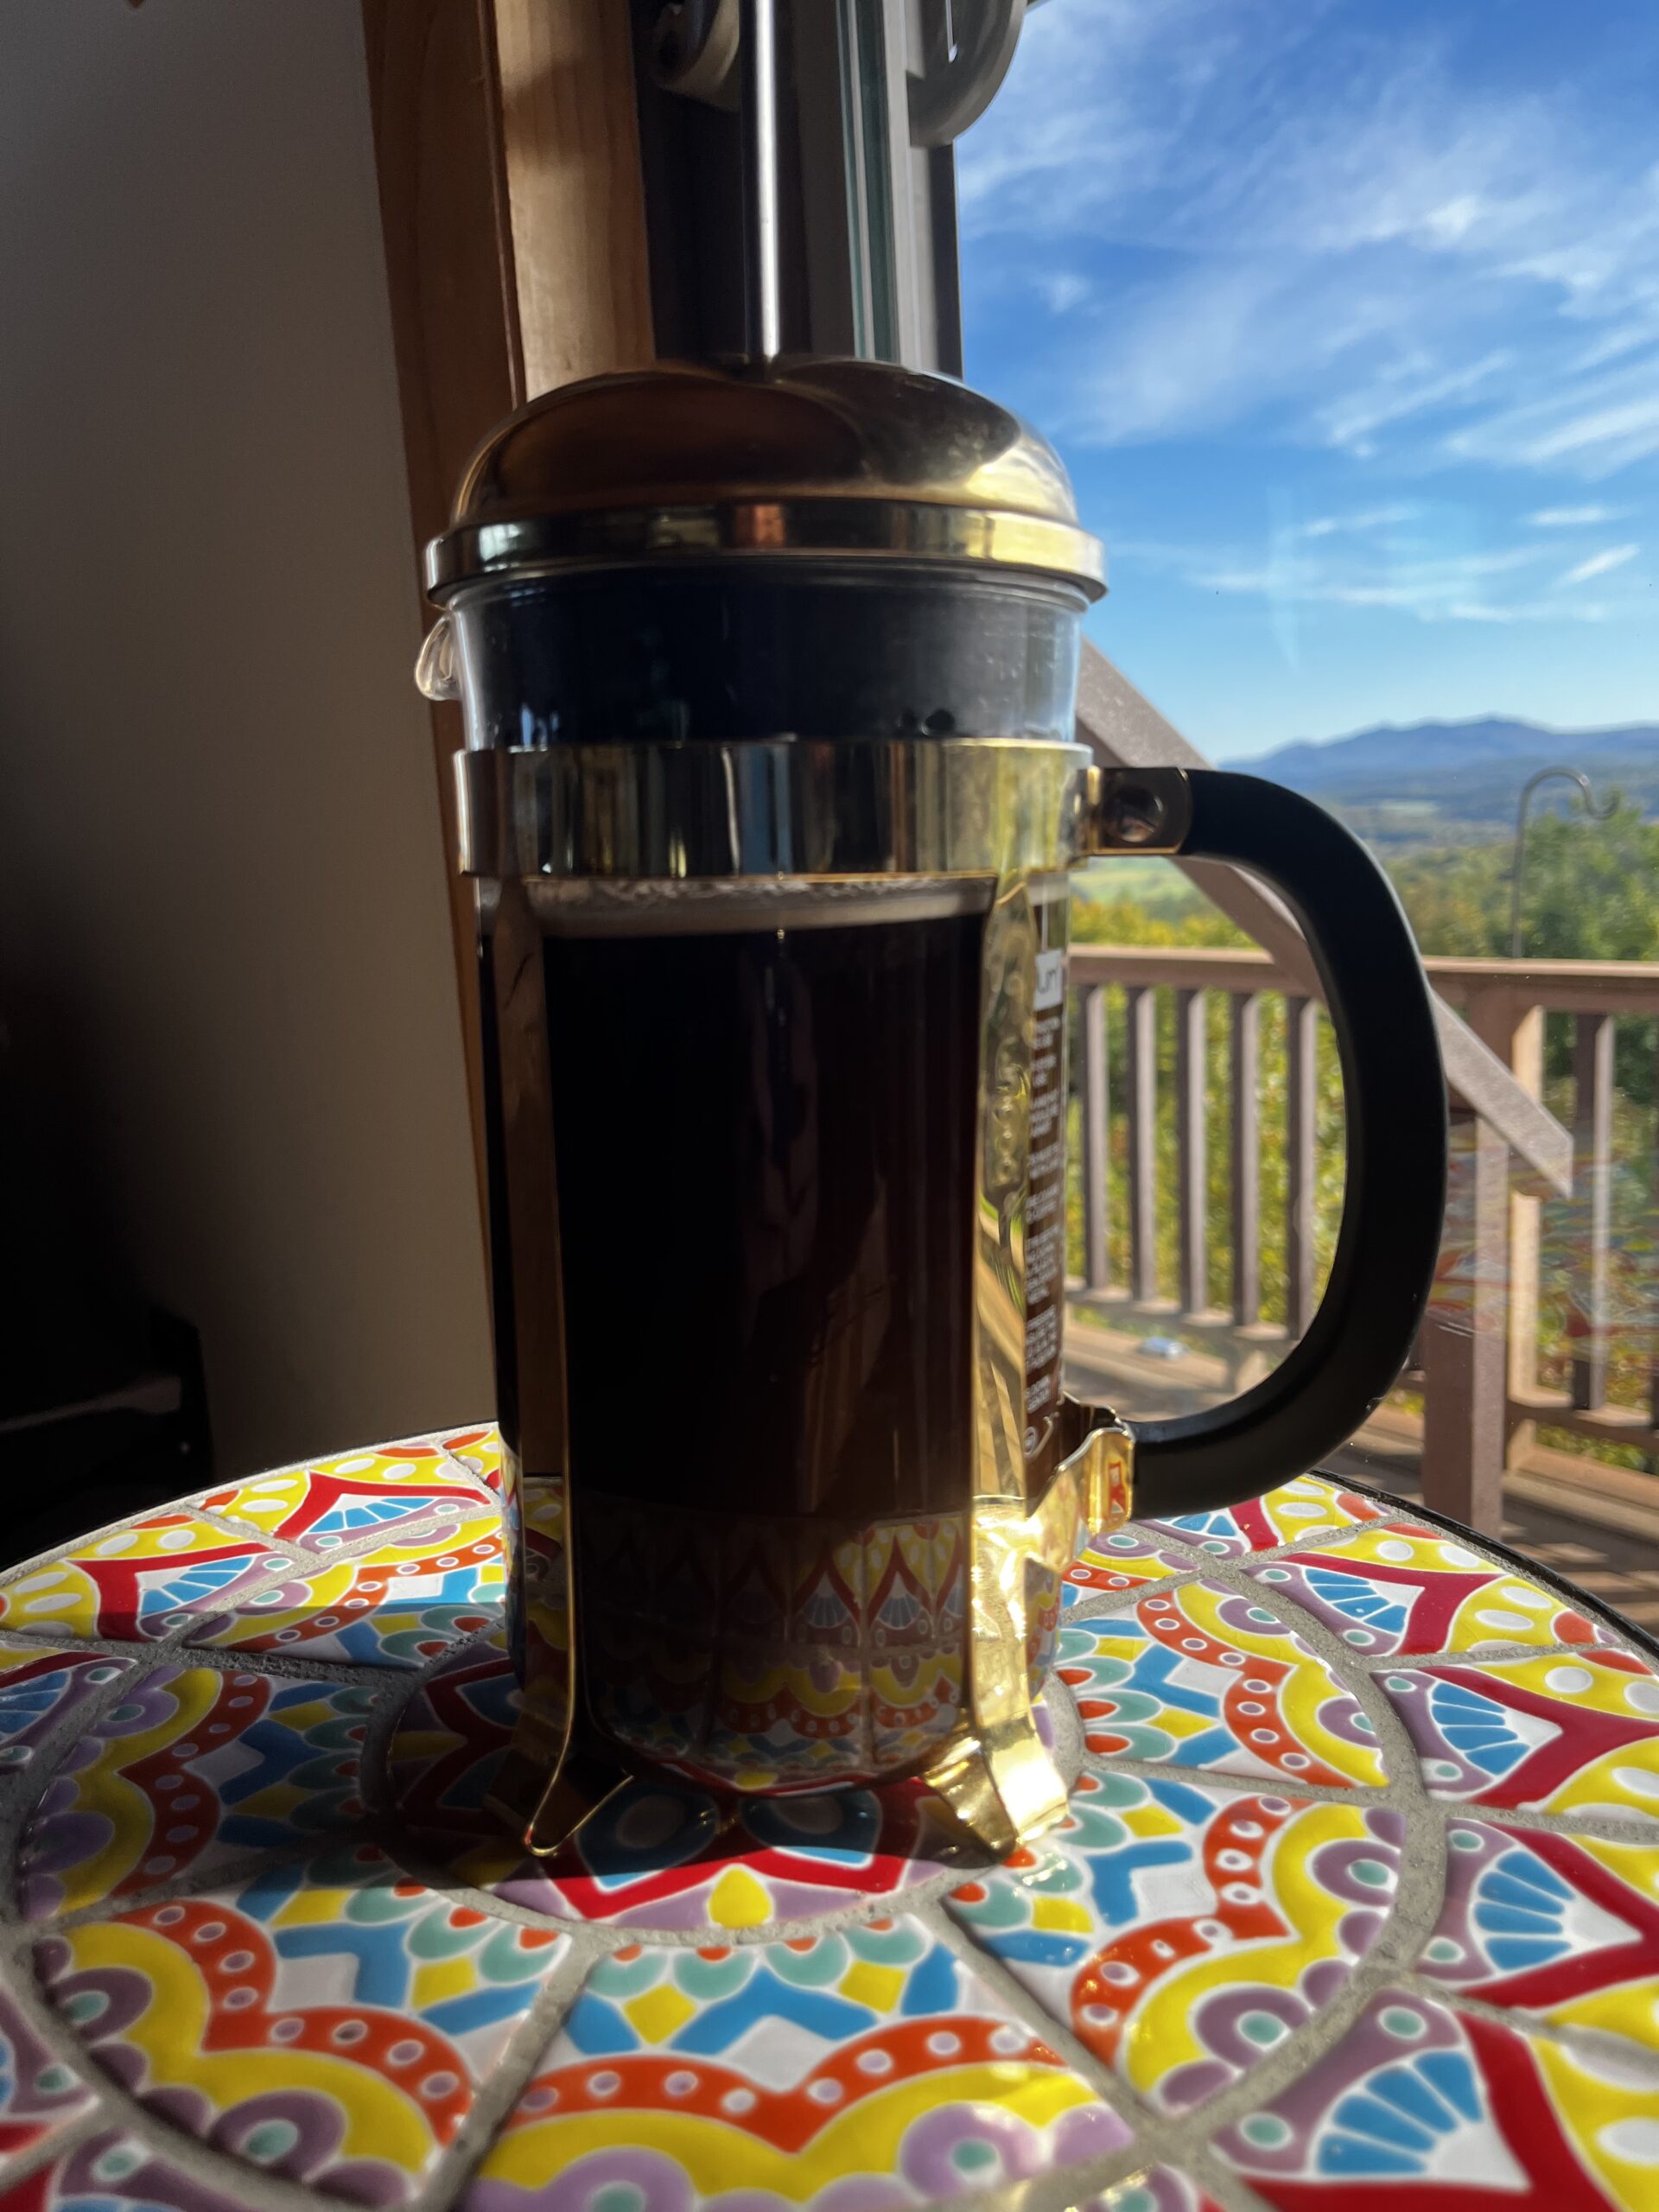
5: Press down the plunger to push the ground to the bottom of the carafe. Take it slow. Pushing hard and fast will only negatively impact the flavor.
Coffee to Milk Ratio Chart (Espresso + Regular Coffee)
This coffee to milk ratio chart shows standard proportions for popular coffee drinks. Use it to make your coffee stronger, creamier, or closer to café-style—without guessing.
Quick tip: If you’re using espresso, the “coffee” part is usually 1 shot (about 30 ml). If you’re using brewed coffee, start with a normal cup (about 240 ml) and adjust milk to taste.
Quick Coffee : Milk Ratio Chart (Most Common Drinks)
If you just want the classic ratios, start here. (Foam is listed separately because it changes texture more than “milk volume.”)
| Drink | Coffee : Milk | Foam | Notes |
|---|---|---|---|
| Cortado | 1 : 1 | None | Balanced and strong; microfoam is minimal. |
| Flat White | 1 : 2 | Thin microfoam | Silky texture; “stronger latte” vibe. |
| Latte | 1 : 3–4 | Thin layer | Milk-forward; best for flavored lattes. |
| Cappuccino | 1 : 1 | More foam than latte | Traditionally split between espresso, steamed milk, and foam. |
| Mocha | 1 : 2–3 | Optional | Add chocolate (syrup/powder) before milk. |
| Macchiato | Mostly coffee | None | Just a “mark” (dollop) of milk/foam. |
| Café au lait (brewed coffee) | 1 : 1 | None | Brewing method is coffee—not espresso. |
Full Coffee Drink Ratio Chart
This expanded chart includes espresso-only drinks, water-based drinks, and “hybrid” drinks like red eyes.
| Coffee Drink | Coffee (Espresso or Regular) | Coffee : Milk Ratio | Foam | Water | Other Components |
|---|---|---|---|---|---|
| Espresso | 1 shot (30 ml) | None | None | None | None |
| Ristretto | 1 short shot (15–20 ml) | None | None | None | None |
| Lungo | 1 long shot (about 60 ml) | None | None | None | None |
| Americano | 1 shot (30 ml) | None | None | Hot water, to taste | None |
| Cappuccino | 1 shot (30 ml) | 1 : 1 | Yes (more foam) | None | None |
| Latte | 1 shot (30 ml) | 1 : 3–4 | Thin layer | None | None |
| Flat White | 1–2 shots (30–60 ml) | 1 : 2 | Thin microfoam | None | None |
| Macchiato | 1 shot (30 ml) | “Marked” (small amount) | None | None | None |
| Mocha | 1 shot (30 ml) | 1 : 2–3 | Optional | None | Chocolate syrup/powder |
| Cortado | 1 shot (30 ml) | 1 : 1 | None | None | None |
| Affogato | 1 shot (30 ml) | None | None | None | Vanilla ice cream |
| Red Eye | Regular coffee | None | None | None | + 1 shot espresso |
| Black Eye | Regular coffee | None | None | None | + 2 shots espresso |
| Doppio | 2 shots (60 ml) | None | None | None | None |
| Irish Coffee | Regular coffee | None | Cream top | None | Irish whiskey, sugar |
| Espresso con Panna | 1 shot (30 ml) | None | None | None | Whipped cream |
| Espresso Romano | 1 shot (30 ml) | None | None | None | Lemon slice |
| Piccolo Latte | 1 ristretto (15–20 ml) | 1 : 1–2 | None | None | None |
| Regular Coffee | Brewed coffee (240 ml) | To preference | None | None | Optional sweeteners |
Note: Coffee drinks vary by café and region. This chart reflects common “standard” builds that work well for most home setups.
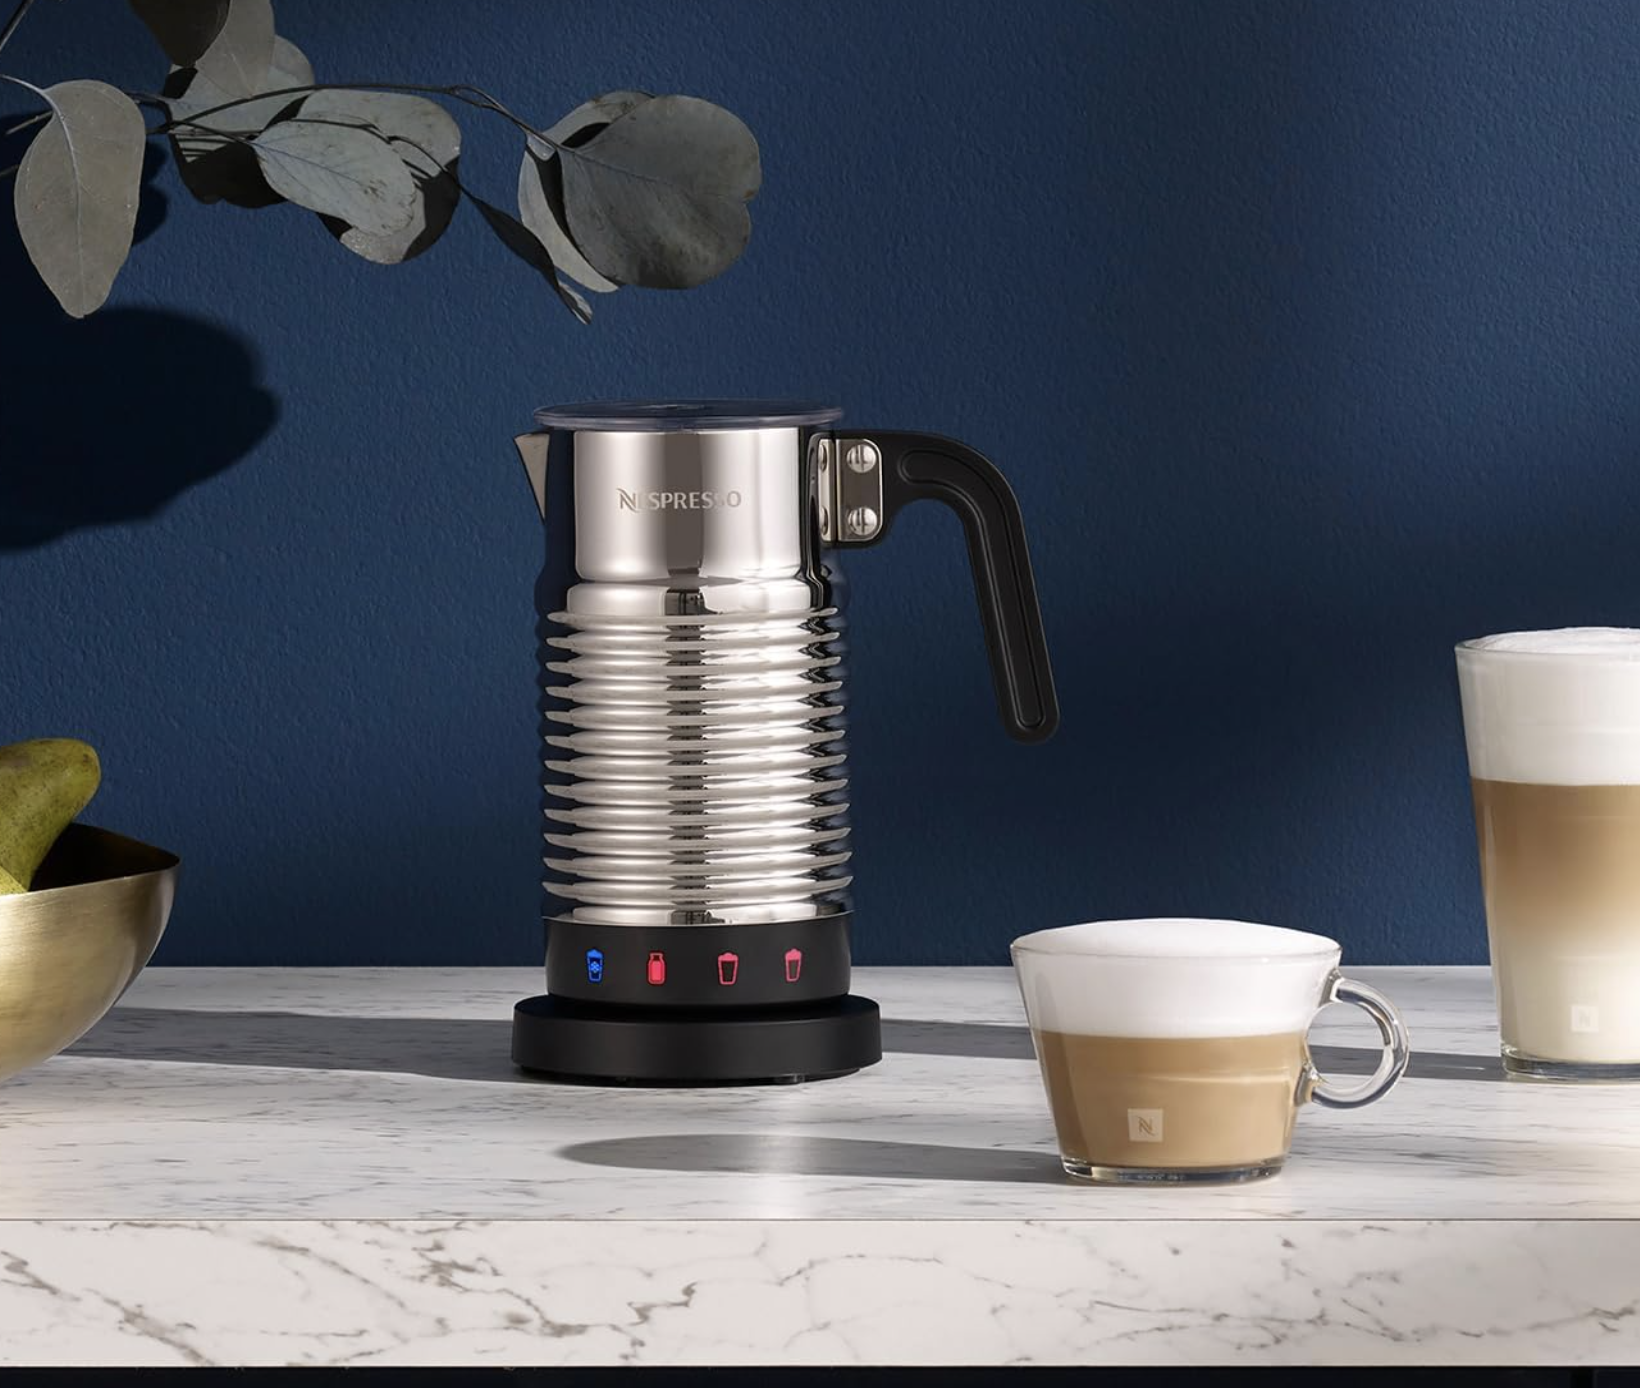
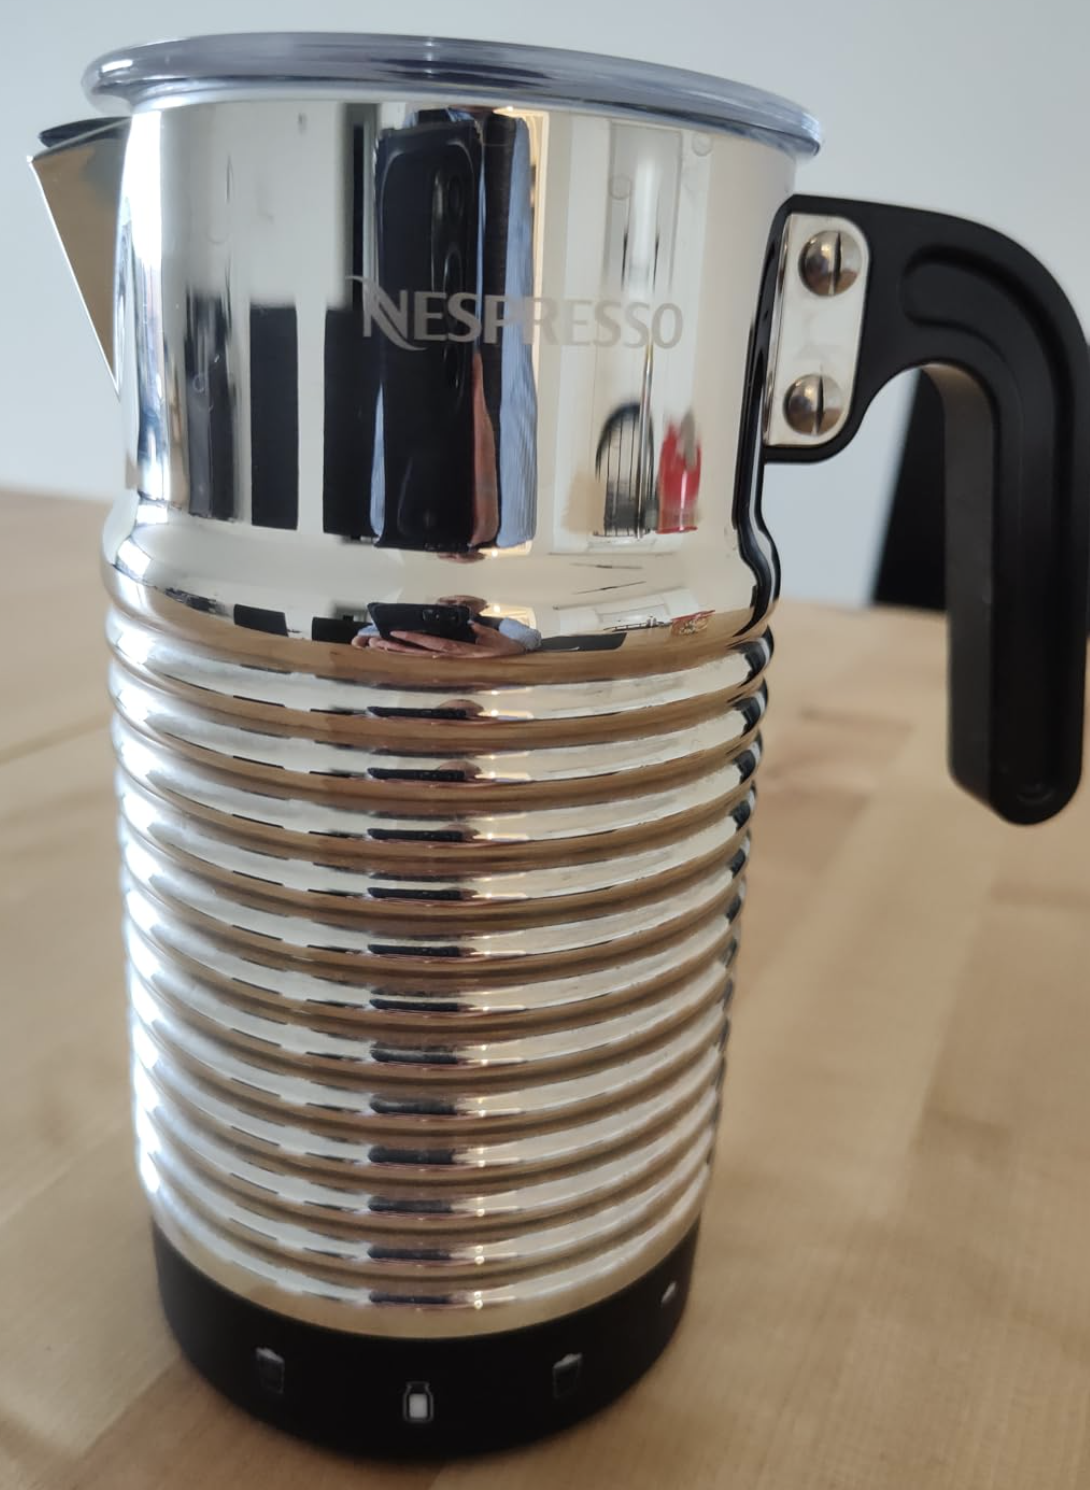 Our Favorite Milk Frother + Warmer
Common Sizes + Quick Conversions
| Item | Approx. Volume |
|---|---|
| Espresso shot | 30 ml (about 1 oz) |
| Doppio (double) | 60 ml (about 2 oz) |
| Standard brewed coffee cup | 240 ml (about 8 oz) |
| 12 oz drink | 355 ml |
| 16 oz drink | 473 ml |
Easy scaling: Choose your coffee amount first, then multiply milk based on the ratio. Example: 2 shots espresso (60 ml) in a latte at 1:3 → ~180 ml milk.
How to Adjust Coffee-to-Milk Ratios (Stronger vs Creamier)
- Too strong? Increase milk by 10–20% (or add a thin layer of foam for perceived sweetness).
- Too milky? Reduce milk or use a smaller cup size; keep coffee constant.
- Watery americano? Use less water and/or pull a slightly longer shot (lungo) instead.
- Iced drinks taste weaker? Ice melts—start with a slightly stronger coffee base or less milk.
- Milk type matters: Whole milk tastes richer; oat milk often tastes sweeter; skim milk can feel “thinner.”
FAQ: Coffee to Milk Ratio Chart
What’s the best coffee-to-milk ratio for a latte?
A classic latte is usually around 1:3 to 1:4 (coffee:milk) with a thin foam layer.
What ratio is a cappuccino?
A common starting point is 1:1 coffee to milk, but cappuccinos also include more foam than lattes—so texture is the bigger difference.
What’s the difference between a flat white and a latte?
Flat whites typically use less milk (often around 1:2) and focus on silky microfoam. Lattes are more milk-forward (often 1:3–1:4).
How do I use this chart if I don’t measure in ml?
Use “parts.” Example: a 1:3 latte means 1 part coffee + 3 parts milk. If your coffee is 2 oz, your milk is ~6 oz.
Does the ratio change for iced coffee?
Often, yes. Ice dilution can make drinks taste weaker, so many people start with slightly stronger coffee or slightly less milk.
Printable Tip
If you make coffee often, bookmark this page—or print the “Quick Coffee : Milk Ratio Chart” section and keep it near your machine.
Prime Day Kitchen Speakers For The Ultimate Coffee Station
Tired of mediocre sound? Elevate your coffee making audio experience with the best speakers of Prime Day 2024! If you’re looking for the Best Prime Day Deals CLICK HERE. Whether you’re a music aficionado, a movie buff, or simply enjoy listening to podcasts while making coffee, the right speaker can make all the difference. In this comprehensive guide, we’ll delve into the top-rated speakers across various categories, from portable powerhouses to smart home audio companions.
Best Overall Speakers
Click here for my favorite Prime Day speaker deal
These speakers reign supreme in sound quality, design, and features, making them the perfect choice for discerning listeners:
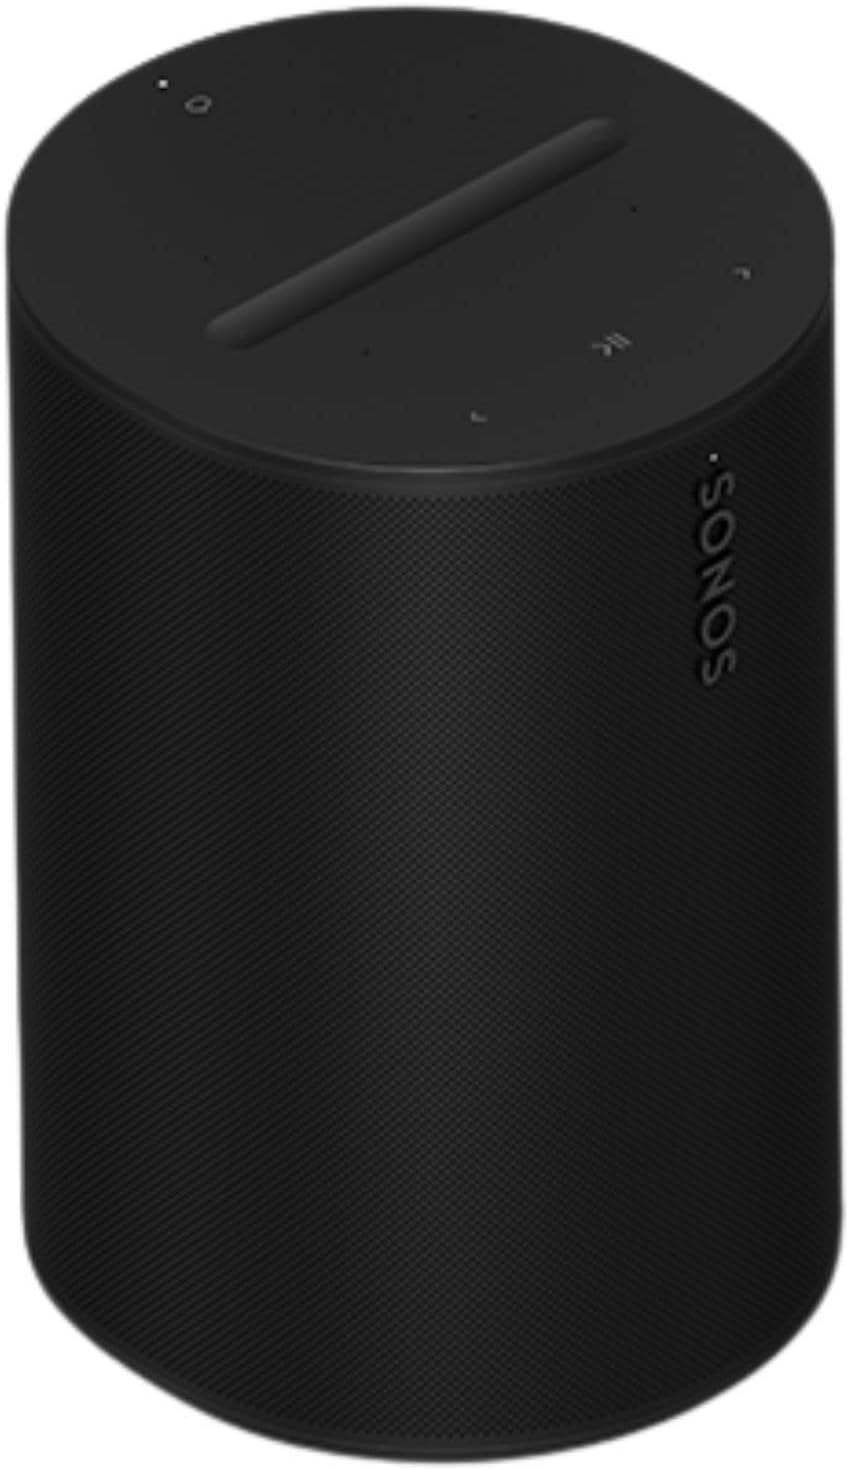
- Sonos Era 300: Immerse yourself in spatial audio with Dolby Atmos, making this speaker ideal for both music and home theater. Its six drivers create a wider, more immersive soundstage, while voice control and Wi-Fi connectivity add convenience.
- Bowers & Wilkins Zeppelin: A timeless icon reimagined with enhanced audio performance and connectivity. The updated drivers and larger subwoofer deliver richer, more detailed sound. Its sleek design and wide range of connectivity options make it a statement piece for any home.
- KEF LS60 Wireless: A revolutionary design combining sleek aesthetics with outstanding acoustics. Featuring KEF’s Uni-Q driver array and Metamaterial Absorption Technology (MAT), these floorstanding speakers deliver exceptional sound quality and reduced distortion.
Best Portable Speakers
Click here for the Prime Day portable speaker deal of the day

Take your music on the go with these compact yet powerful speakers:
- Ultimate Ears BOOM 3: This rugged and waterproof speaker delivers 360-degree sound, perfect for outdoor gatherings or poolside parties. Its long battery life and durable design make it a reliable companion for any adventure.
- JBL Flip 6: An affordable and durable speaker with impressive bass, the JBL Flip 6 is a popular choice for casual listeners. Its compact size and PartyBoost feature, which allows you to connect multiple JBL speakers, make it perfect for social gatherings.
- Sony SRS-XB13: Don’t be fooled by its small size. The Sony SRS-XB13 packs a punch with surprisingly big sound and long battery life. Its IP67 water- and dust-proof rating makes it ideal for outdoor use.
Best Budget-Friendly Speakers
Great sound doesn’t have to break the bank:
- Anker Soundcore Flare 2: This stylish speaker features LED lights that pulse to the beat of your music, adding a fun element to your listening experience. It also offers customizable sound through the Soundcore app.
- Tribit Stormbox Micro 2: Despite its compact size and affordable price, the Tribit Stormbox Micro 2 delivers surprisingly good sound quality. It’s also waterproof and dustproof, making it a great option for outdoor adventures.
- OontZ Angle 3 Ultra: This small but mighty speaker is perfect for outdoor use, thanks to its water-resistant design and powerful sound. It’s a great value for the price.
Best Smart Speakers
Click here for the best Prime Day smart speaker deal
Combine audio excellence with the convenience of voice control:
- Amazon Echo Studio: This speaker boasts immersive 3D audio and seamless integration with Amazon Alexa. It’s perfect for music lovers and smart home enthusiasts alike.
- Google Nest Audio: With its crystal-clear sound and access to Google Assistant, the Nest Audio is a versatile smart speaker that can answer questions, control smart home devices, and play your favorite tunes.
- Apple HomePod mini: This compact smart speaker offers surprisingly good sound quality and seamlessly integrates with other Apple devices. It’s a great choice for those invested in the Apple ecosystem.
Best Speakers for Open Concept Kitchens Near Big Screen TVs
Click here for the Prime Day deal on my favorite subwoofer
Create a cinematic audio experience in your kitchen & living room.
- Sonos Arc: This premium soundbar delivers immersive Dolby Atmos surround sound for a truly cinematic experience. Its sleek design and Wi-Fi connectivity make it a great addition to any home theater setup.
- Samsung HW-Q990B: This powerful soundbar comes with dedicated rear speakers and a subwoofer for a complete surround sound experience. It supports Dolby Atmos and DTS:X for immersive audio.
- Klipsch Reference Premiere Dolby Atmos System: This complete home theater setup includes floorstanding speakers, a center channel speaker, surround speakers, and a subwoofer. It delivers powerful and detailed sound for a truly immersive cinematic experience.
Conclusion
Choosing the perfect speaker is a personal journey. Consider your budget, listening habits, and desired features before making a decision. Whether you opt for a portable companion, a smart home hub, or a home theater powerhouse, the best speakers of 2024 offer something for everyone. Happy listening!
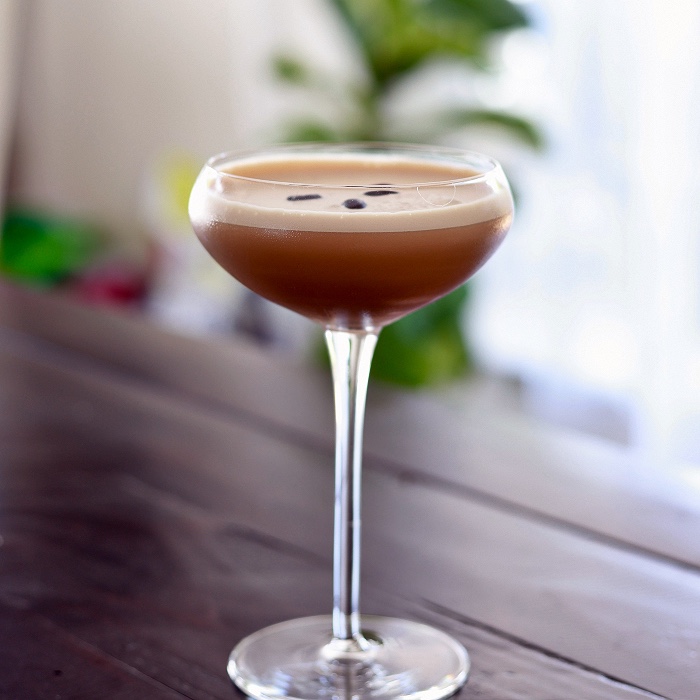
Espresso Martini Making
If you’re a fan of coffee and cocktails, the Espresso Martini is the perfect drink to indulge your senses. This delicious concoction combines the energizing kick of espresso with the smooth sophistication of vodka and coffee liqueur. It’s no wonder that the Espresso Martini has experienced a surge in popularity in recent years, captivating cocktail enthusiasts worldwide.
In this blog post, we’ll dive into the fascinating history of the Espresso Martini, share the perfect recipe for you to recreate at home, offer tips on crafting the ideal espresso shot, and explore some exciting variations for those who crave a twist on the classic.
A Brief History of the Espresso Martini
The Espresso Martini came about in the 1980s at the Fred’s Club in London, thanks to the ingenious bartender Dick Bradsell. Legend has it that a famous model requested a drink to “wake her up and then f*ck her up.” Bradsell’s response was the Espresso Martini, a bold and invigorating combination that quickly became a sensation.
Since then, the Espresso Martini has solidified its place as a modern classic cocktail, gracing the menus of trendy bars and restaurants across the globe. Its unique blend of flavors and stimulating effects have made it a favorite among coffee lovers and cocktail aficionados alike.
The Perfect Espresso Martini Recipe
Click here for my favorite affordable espresso machine
Ready to try your hand at making an Espresso Martini? Here’s the recipe for perfection:
Ingredients:
- 2 ounces vodka
- 1 ounce coffee liqueur (Kahlúa, Tia Maria, or Mr. Black are excellent choices)
- 1 ounce freshly brewed espresso, cooled
- 1/4 ounce simple syrup (optional, adjust to taste)
- 3 coffee beans for garnish
Instructions:
- Chill a martini glass.
- Fill a cocktail shaker with ice.
- Add the vodka, coffee liqueur, espresso, and simple syrup (if using) to the shaker.
- Shake vigorously for about 15-20 seconds.
- Strain into the chilled martini glass.
- Garnish with three coffee beans.
Pro Tip: For extra elegance, try creating latte art with the foam on top of your Espresso Martini.
Crafting the Ideal Espresso Shot
- Espresso Beans: Use freshly roasted, high-quality espresso beans for the best flavor.
- Grind Size: Grind the beans to a fine consistency, similar to table salt.
- Espresso Machine: Invest in a good espresso machine that can generate consistent pressure and temperature. Look for features like a PID controller, pre-infusion, and a powerful steam wand.
- Brew Time: Aim for a brewing time of 25-30 seconds for a single shot.
Espresso Martini Variations
Once you’ve mastered the classic recipe, feel free to experiment with these delicious variations:
- Vodka Variations: Try using different brands of vodka or flavored vodkas for a unique twist.
- Coffee Liqueur Variations: Explore other coffee liqueurs like Tia Maria, Mr. Black, or Sheridan’s.
- Flavored Espresso Martinis: Add a dash of vanilla extract, chocolate liqueur, or caramel syrup for extra depth of flavor.
- Citrusy Twist: Incorporate a splash of orange bitters for a refreshing citrusy note.
How to Get Ice That Stays Frozen Longer Without the Hassle
When you’re in the market for a countertop ice maker, you may have encountered one common problem: most models don’t keep the ice frozen. Ice that melts quickly can be frustrating, especially when hosting a gathering or preparing drinks for the day. In this guide, we’ll dive into what you should know when looking for a countertop ice maker that produces ice and preserves it well below the freezing point.
What’s the Difference Between a Basic Ice Maker and One That Keeps Ice Frozen?
The main distinction between a basic ice maker and a model that preserves ice lies in their design and purpose. Basic ice makers are compact machines that focus solely on ice production. Once the ice is made, it sits in a storage bin without any real insulation or freezing capability, which causes the ice to melt quickly. Melted ice is often recycled into the system to make more ice, but you’re left with soft or slushy cubes that don’t last long in a drink.
In contrast, freezer-equipped ice makers have an insulated compartment or a mini freezer section designed to keep ice frozen after it’s made. These models can maintain a temperature below freezing, allowing your ice to last significantly longer.

Why Most Countertop Ice Makers Struggle With Ice Retention
Several design factors explain why typical countertop ice makers struggle to keep ice frozen:
- Minimal Insulation: Most countertop models are designed for speed and compactness, leaving little room for adequate insulation. The ice melts rapidly without sufficient insulation, especially in warmer ambient temperatures.
- Type of Ice: Many models produce bullet-shaped ice, which is softer and melts faster than traditional cube ice. This type of ice is often only held at around 32°F, just above freezing, which hastens melting.
- Recycling Melted Ice: While this is an environmentally friendly feature, recycling results in wet, slushy ice that doesn’t hold up well in drinks.
- Energy Efficiency Trade-off: Ice makers that maintain freezing temperatures require continuous power, increasing energy consumption. In contrast, basic models are more energy-efficient but sacrifice ice quality for lower power usage.
How Can You Improve Ice Retention in a Countertop Ice Maker?
Although most countertop ice makers aren’t built to keep ice frozen for long, there are strategies to improve ice longevity:
- Transfer Ice to a Freezer: Once the ice is made, moving it to a traditional freezer will ensure it stays solid for longer. Many users choose this workaround for events or extended use.
- Use Filtered Water: Filtered water reduces impurities and air bubbles in the ice, leading to denser ice that takes longer to melt.
- Choose Models with Better Insulation: A few models, like the NewAir ClearIce40 and GE Profile Opal Nugget Ice Maker, offer better insulation to help delay melting, though they still don’t provide freezing capabilities.
Top Models Known for Improved Ice Retention
While models that actively keep ice frozen are rare, there are a few countertop ice makers that perform better in terms of ice retention due to enhanced insulation:
- NewAir ClearIce40: This model is known for producing crystal-clear ice that lasts longer due to better insulation and cold storage capabilities.
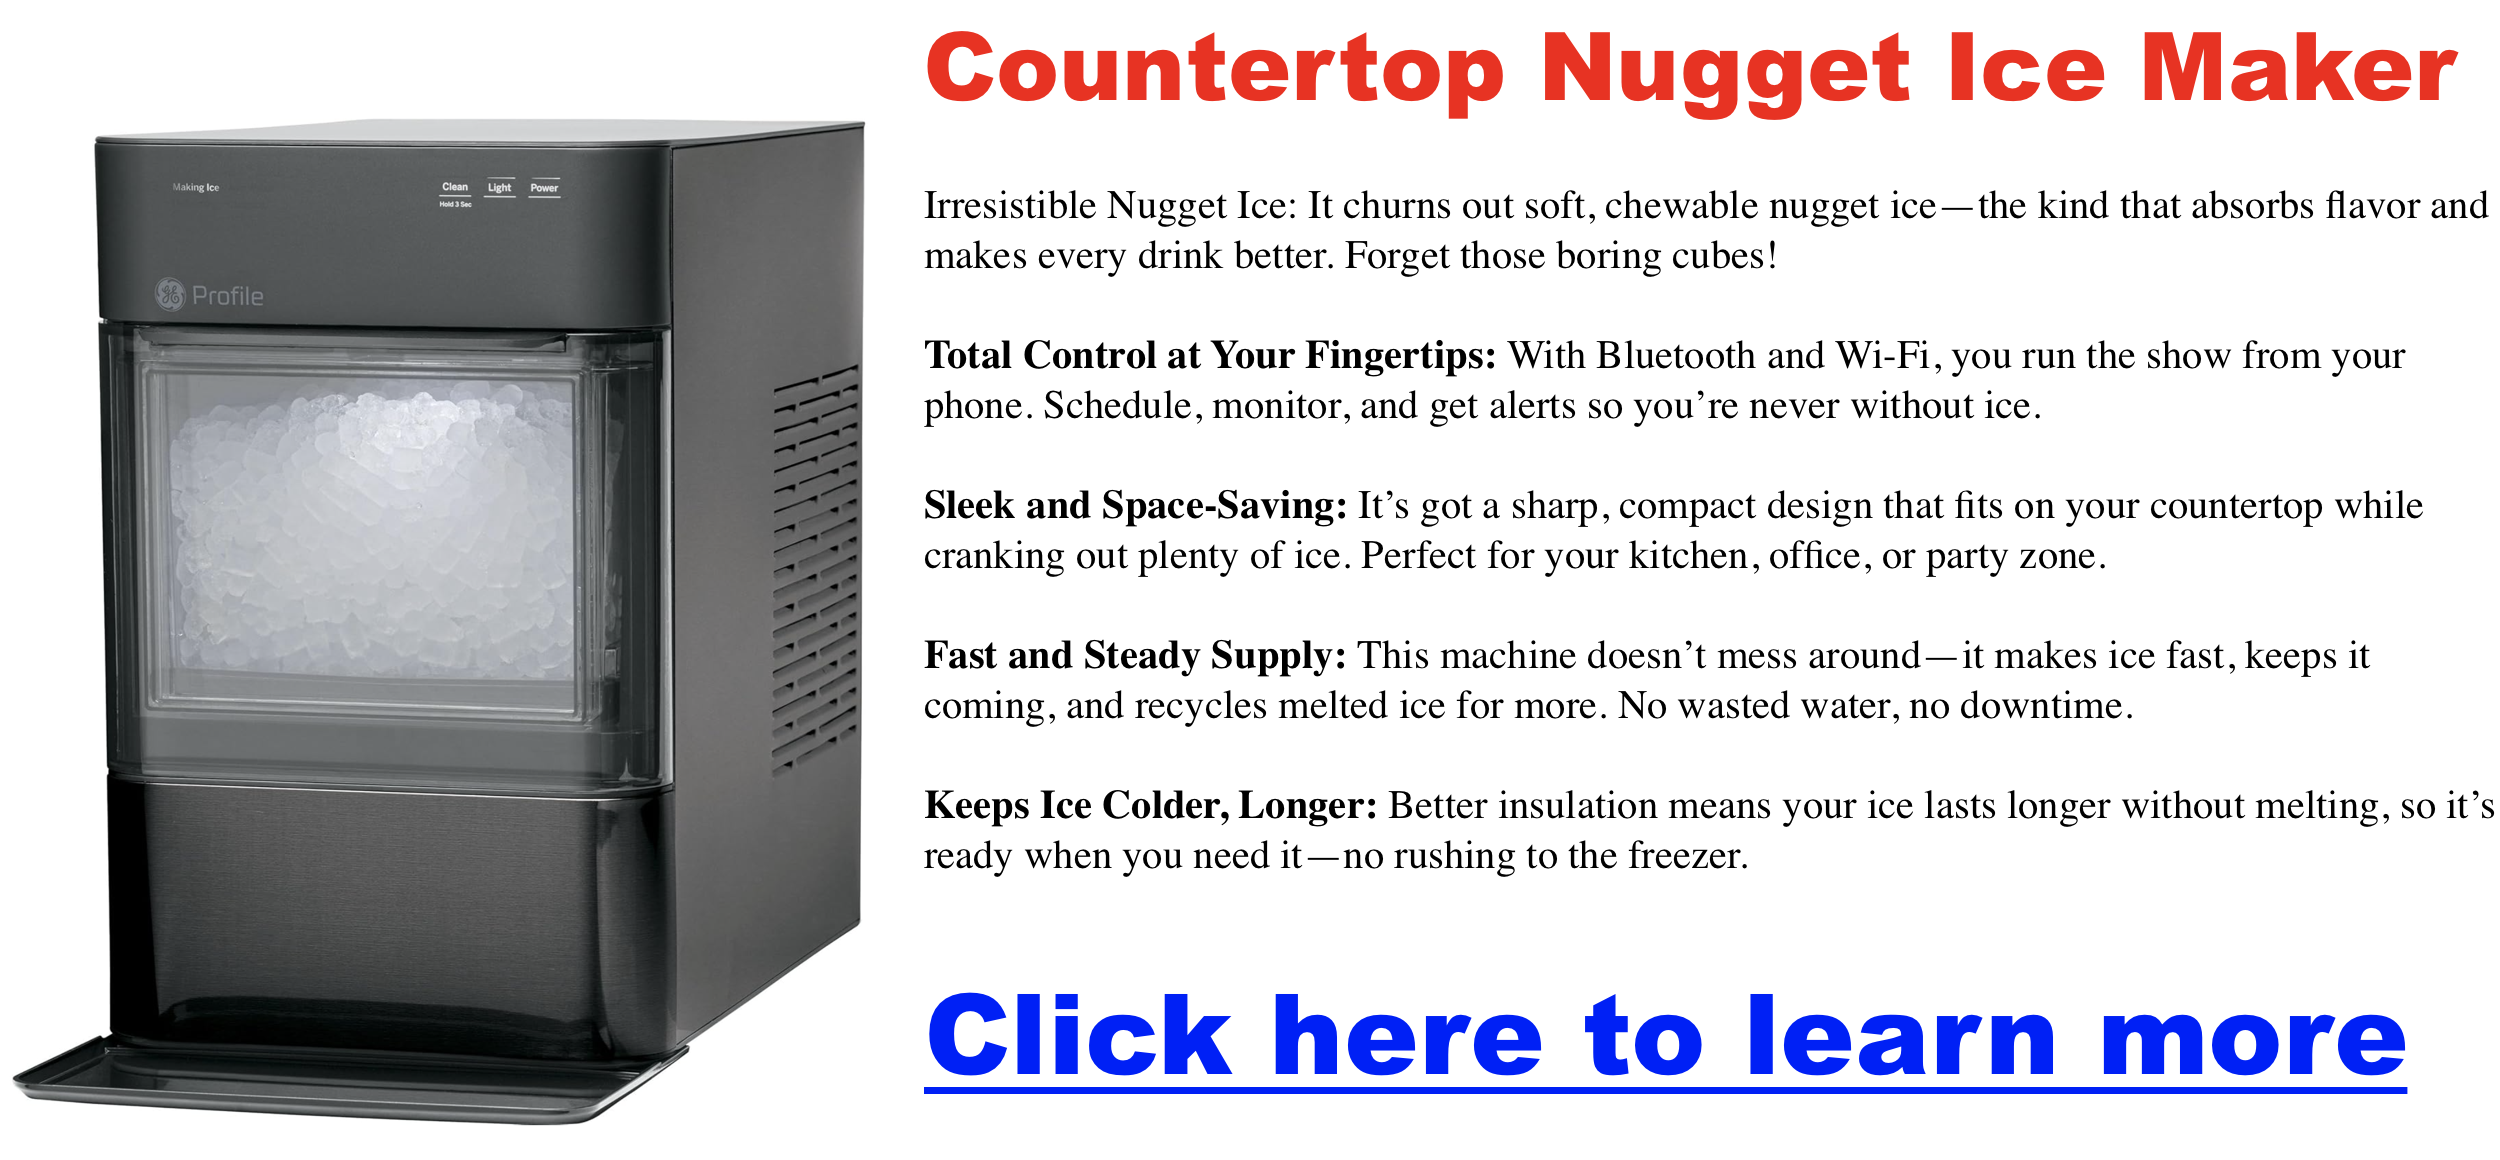
- GE Profile Opal Nugget Ice Maker: Loved for its nugget-style ice, this model also includes superior insulation, allowing it to keep ice cold longer before melting.
Common Complaints and Solutions for Countertop Ice Makers
Users often report the following challenges when it comes to ice retention:
- Rapid Ice Melting: To counteract this, it’s best to transfer ice to a separate freezer as soon as it’s produced.
- Wet or Slushy Ice: Using filtered water and ensuring the unit is cool can help reduce this issue.
- Limited Storage Capacity: If you’re producing large amounts of ice, consider using a basic ice maker alongside a traditional freezer for better long-term storage.
Ice Shapes
- Nugget Ice:
- Nugget ice has taken the world by storm, and for good reason. Its soft, chewable texture makes it a delightful addition to any beverage, from cocktails to sodas. This type of ice is made by scraping thin layers of a cold cylinder, resulting in small, irregular nuggets that are easy to chew and slow to melt.
- Popular models: If you like nugget ice, consider the GE Profile Opal 2.0, Euhomy Nugget Ice Maker, or NewAir Nugget Countertop Ice Maker.
- Classic Cubes: Clear vs. Cloudy:
- Clear ice cubes are visually appealing and melt slower due to their dense structure, making them ideal for cocktails and whiskey. While perfectly functional, cloudy ice cubes contain air pockets that make them less dense and quicker to melt.
- If clear ice is a priority, look for machines like the Luma Comfort Clear Ice Cube Maker or Frigidaire Countertop Ice Maker.
- Gourmet Shapes:
- Some ice makers offer unique shapes, like large spheres or cubes, which can add a touch of elegance to drinks and help them stay cold longer.
- If you’re a cocktail enthusiast or enjoy entertaining, these options might be appealing.
Ice Maker Must-Haves
When shopping for a countertop ice maker, there are several factors to consider beyond just the brand name:
- Production Speed: How much ice do you need daily, and how quickly do you need it? Some machines can churn out a batch of ice in as little as 6 minutes, while others might take longer. Consider your household size and how often you entertain to determine your ideal production speed.
- Storage Capacity: Don’t want to constantly empty the ice bucket? Choose a model with a storage capacity that matches your ice consumption habits.
- Ice Size Options: Do you prefer a machine with adjustable ice size settings, or are you happy with a fixed size? Think about how you typically use ice and choose accordingly.
- Energy Efficiency: Select an energy-efficient model to help the environment and your wallet. For the most efficient options, look for ice makers with an Energy Star rating.
- Noise Level: If your ice maker will be in a living or sleeping area, noise level is an important consideration. Opt for a quieter model to avoid disruptions.
- Self-Cleaning Features: Some ice makers offer self-cleaning cycles, saving time and effort. However, it’s important to research these cycles’ effectiveness before deciding.
- Extra Perks: Some models have features like WiFi connectivity, timers, and built-in water filters. Consider which of these features are important to you and prioritize them accordingly.
Maintaining an Ice Maker
- Regular Deep Cleans: Even if your model boasts a self-cleaning cycle, regular deep cleans are crucial. Follow the manufacturer’s instructions, which typically involve using a vinegar solution or a specialized ice maker cleaner.
- Daily Wipe-Downs: After emptying the ice bin, give it a quick wipe-down with a damp cloth to prevent residue from drying and hardening. Don’t forget to wipe down the exterior and control panel as well.
- Descaling: Depending on your water hardness, you may need to descale your ice maker periodically to remove mineral buildup.
Troubleshooting Like a Pro:
- Leaks: If you notice any leaks, check the water lines and connections for any cracks or loose fittings.
- Jammed Ice Maker: If the ice maker jams, try turning the machine off and unplugging it for a few minutes. Then, gently remove any ice blockages with a plastic utensil (never use sharp objects).
- Slow Ice Production: Could be due to a variety of factors, such as low water pressure, a dirty filter, or a faulty thermostat.
Extending the Life of Your Ice Maker:
- Use Filtered Water: If you have hard water, using filtered water can significantly reduce mineral buildup and prolong the life of your ice maker.
- Don’t Overfill: Avoid overfilling the water reservoir, as this can put unnecessary strain on the components and lead to leaks.
- Regularly Check for Wear and Tear: Inspect hoses, gaskets, and look for signs of wear and tear, and replace them promptly if needed.
Conclusion: The Trade-Offs You Need to Consider
When selecting a countertop ice maker, it’s important to understand the trade-offs between energy efficiency, ice quality, and storage capability. Basic models are ideal for fast ice production and energy efficiency but fall short in keeping ice frozen. If ice longevity is a key concern, opting for models with better insulation, like the NewAir ClearIce40, or using a separate freezer for ice storage are practical solutions.
The Best Canned Coffee
Canned coffee is pre-brewed coffee that is packaged and sealed in a can for convenience. It is ready to drink, often chilled or at room temperature, and available in various styles and flavors. Canned coffee can range from black coffee and cold brew to flavored or sweetened options that may include milk, cream, or plant-based alternatives.
Here are our top picks for canned coffee.

HIGH Brew Coffee Cold Brew Coffee
High Brew Coffee offers a unique canned coffee option called Cold Brew Coffee + Protein, Black and Bold. It can be conveniently delivered to your home or office on Amazon.
Exploring Canned Coffee Brewing Techniques
Cold Brew Concentrate: Cold brew concentrate is fundamental to many canned coffee products. It steeps coarsely ground coffee beans in cold water for 12 to 24 hours. This method yields a smoother, less acidic, and naturally sweet coffee, making it perfect for those who enjoy a subtle and balanced flavor profile.
Nitro Infusion: Inspired by craft beer, nitro-infused canned coffee is an eye-catching option. The infusion of nitrogen gas creates a rich, creamy texture and a foamy head, adding a velvety, tactile experience to each sip. This method is ideal for those who appreciate a fuller, more indulgent coffee drink.
Espresso-Based Brews: Canned coffees that feature espresso are perfect for those who crave a bold, intense flavor. These brews start with a concentrated espresso shot, delivering a robust taste that’s invigorating and satisfying. Espresso-based options cater to consumers looking for a strong and energizing coffee experience.
Flash Brewing: Flash brewing involves brewing coffee hot and rapidly cooling it over ice to capture its full aroma and flavor. This technique results in a refreshing, aromatic canned coffee that bridges the gap between traditional hot brewing and cold coffee. It’s perfect for those who want the depth of hot-brewed coffee in a chilled form.
Innovative and Emerging Techniques: The canned coffee industry continues to push boundaries with new brewing methods and ideas. From adding unique ingredients to experimenting with different roast levels and brewing times, innovation is at the heart of this evolving market.

Starbucks Nitro Cold Brew
Starbucks Nitro Cold Brew offers a distinctive twist on traditional coffee. Infusing cold brew coffee with nitrogen achieves a smooth, velvety texture with a creamy layer of foam. This infusion process enhances the mouthfeel and imparts a natural sweetness.
Higher Caffeine Content: Nitro cold brew packs more caffeine than regular iced coffee, delivering a powerful energy boost.
Lower Calorie Option: When enjoyed without added flavors or syrups, it serves as a lower-calorie choice compared to many other Starbucks beverages.
Natural Sweetness: The nitrogen infusion lends a subtle sweetness.
 Starbucks Espresso and Cream Light
This convenient, ready-to-drink coffee from Starbucks pairs bold, rich espresso with just the right amount of cream. Each 6.5 oz can contains 120 mg of caffeine and only 70 calories, making it an ideal choice for coffee enthusiasts looking for a quick pick-me-up. Perfect for enjoying at home, at work, or on the go, it offers a smooth and satisfying coffee experience anytime, anywhere.
Prime Day Espresso Machine Deals – Live Now!
We’ll update this page regularly to share our best deals. Scroll below to see the latest deals.
💥 Click Here For Live Prime Day Espresso Machine Deals 💥
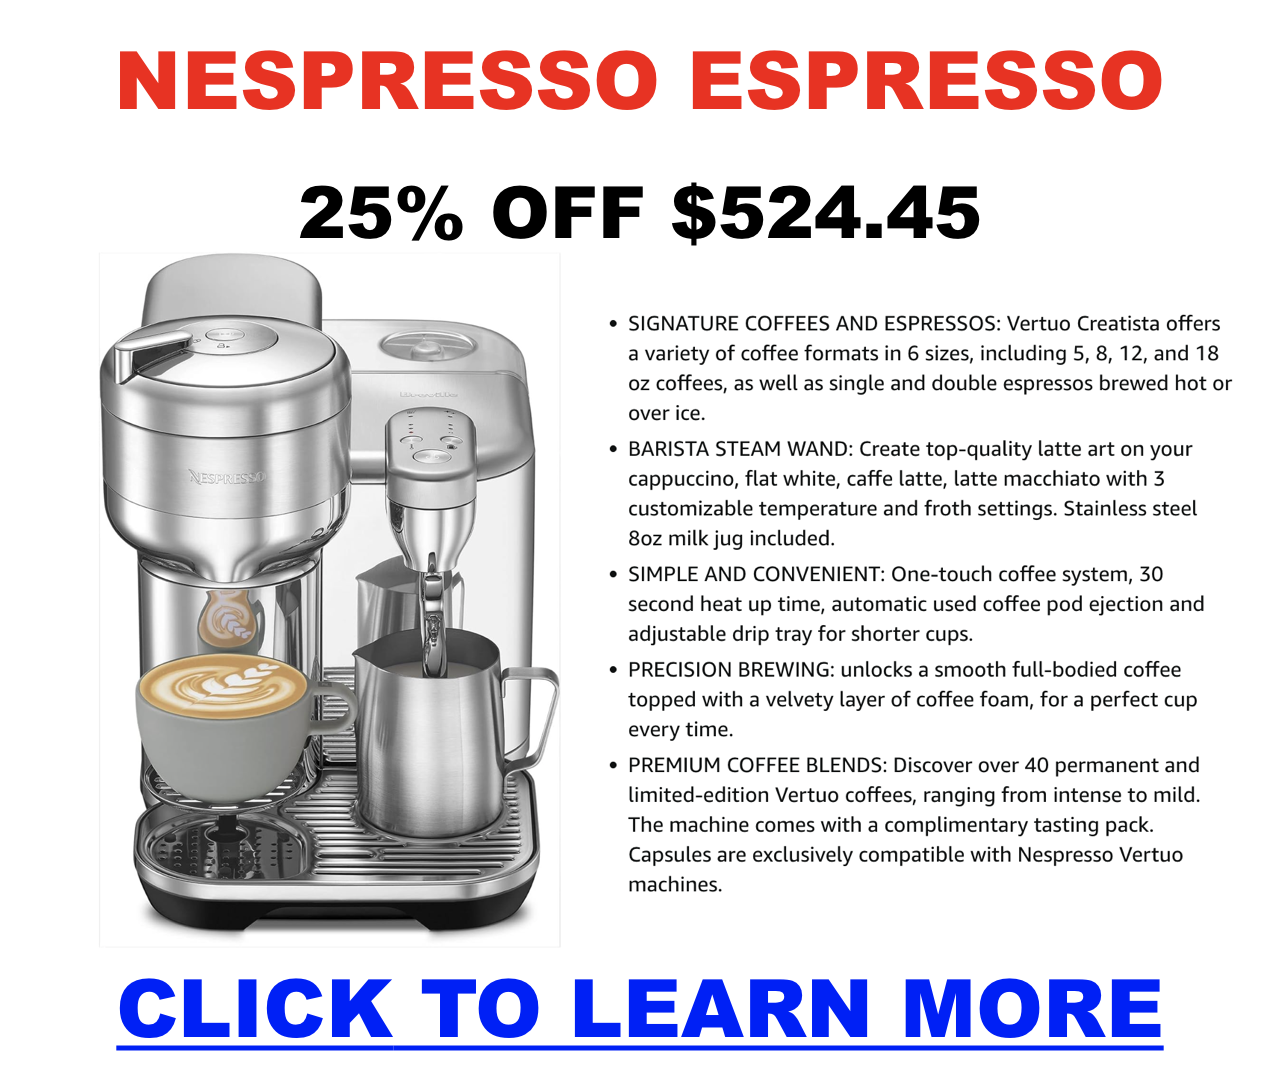
Prime Day Espresso Machine Prime Day

- All-in-one machine: Grind, dose, and extract in under a minute.
- Creates third-wave specialty coffee at home utilizing a 4 keys formula.
- Integrated conical burr grinder with 16 grind settings for maximum flavor.
- 54mm stainless steel portafilter for full-flavored espresso with dual and single wall filters.
- Low-pressure pre-infusion and high-pressure (9 bar) extraction via a 15 bar Italian pump for creamy espresso.
- Thermocoil heating system with PID temperature control ensures water at 200°F.
- Simple interface with volumetric shot control for 1 or 2 shots or manual precision.
- Dosing Funnel attachment included for mess-free grinding.
- BPA-free materials, dishwasher safe components.
- Easy setup with 3D interactive instructions.
- Comes with a Razor Dose trimming tool, 54mm portafilter, and four baskets.
- Multiple brewing options, from automatic to fully manual.

23% OFF De’Longhi Magnifica Start Automatic Espresso Machine
- One-Touch Recipes: Enjoy Espresso, Coffee, and Americano with a single button press.
- Manual Milk Frother: Craft lattes, cappuccinos, and more with the ability to froth milk or milk alternatives.
- Conical Burr Grinder: Offers 13 grind settings for optimal coffee bean preparation.
- Easy Cleaning: Features removable and dishwasher-safe parts for convenient maintenance.


25% OFF Philips 3200 Series Fully Automatic Espresso Machine
- Bean-to-cup brewing: Grinds fresh beans for optimal flavor and aroma.
- Multiple drink options: Espresso, coffee, Americano, cappuccino, latte macchiato (depending on model).
- Intuitive touchscreen display: Easy to select and customize drinks.
- Aroma Extract system: Balances brewing temperature and aroma extraction.
- 12-step grinder adjustment: Customize grind size for different coffee beans.
- Adjustable coffee strength and volume: Personalize your drink preferences.
- Milk frothing options: Classic milk frother or LatteGo system (depending on model) for creamy froth.
- Easy cleaning: Removable brewing unit and dishwasher-safe parts.
- AquaClean filter: Reduces the need for descaling (up to 5000 cups).
- Compact design: Fits in most kitchens.
- Auto MilQ Hands-Free Milk Texturing: With three milk temperature settings and three texture levels, the steam wand allows for hands-free operation and creates café-quality textured milk for latte art.
- Construction: Made from premium brushed and polished stainless steel, it fits seamlessly into any kitchen decor.